
[toc]
Introduction
At some point in our life, we may need almost everything in a private scope, and the same happens with your NPM packages as well. You have created a private NPM package for your company or for yourself and you wanted to host it somewhere, you might have already looked for some options like a paid version of npmjs and many more. But, you were not happy doing it, and somehow you have reached in this article, and I am sure you are expecting something with Docker here. Yes, we are actually going to change our Docker container instance to a private NPM registry, and once it is ready you can always host your private npm packages to that registry. If you are not sure of how to create an npm package, please read my Sounds cool? Then, let’s jump into it. I hope you will find this post useful.
Background
As I mentioned before, I am going to create a Container Instance and will be changing it to a private NPM registry. I will be using Microsoft Azure, if you don’t have a valid Azure subscription, I strongly recommend you to create one.
Setting up a Docker Private NPM Registry
Once you get the Azure subscription, you can start the setups.
Creating Azure Container Registry
Do you have a GitHub account? Do you know what we can do with a Github account? Yes, we can upload our projects/source codes there and we can do versioning, we can create branches and many more. You can consider that the Azure Container Registry is a similar service to that. An Azure Container Registry or ACR is a private Docker registry where you can easily manage all of your Docker container images in the same place. Isn’t that cool? According to Microsoft, you can use Azure Container Registry to:
- Store and manage container images across all types of Azure deployments
- Use familiar, open-source Docker command line interface (CLI) tools
- Keep container images near deployments to reduce latency and costs
- Simplify registry access management with Azure Active Directory
- Maintain Windows and Linux container images in a single Docker registry
To create the Azure Container Registry, you should have a valid Azure subscription. If you don’t have one, please get one, that will help you follow this article.
Once you logged in to the Portal. You can click on the + icon, Create a resource, and search for the Container Registry.
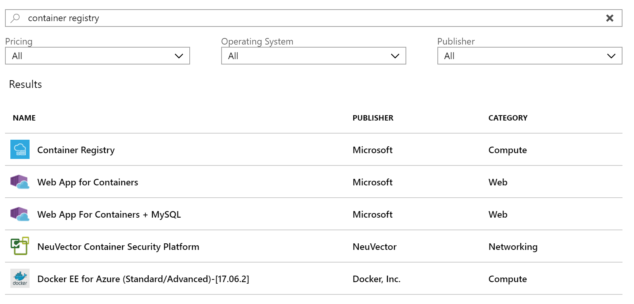
Search Container Registry
When you click the Container Registry, you will be asked to give the details as shown in the preceding image.

Container Registry Details
Please remember to enable the Admin user, as you will be able to use the registry name as username and admin user access key as the password to docker login to your container registry only if it is enabled. I will explain the same in the coming section.
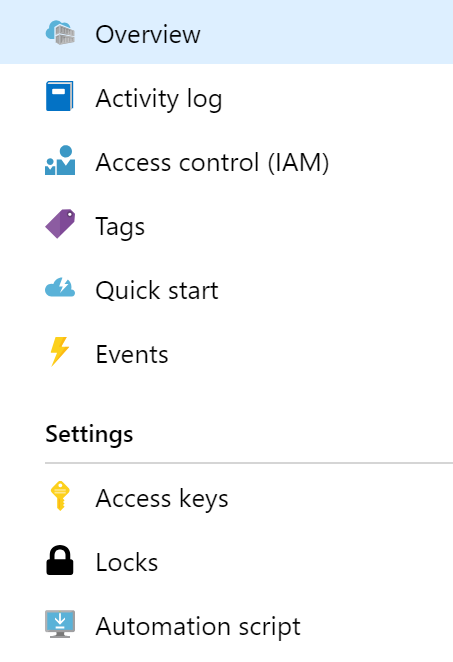
Once you create your Container Registry, you will be given a login server as yourregistryname.azurecr.io. You can always see other information in the overview section. If you click on the Access Keys link under the settings, you can see the username and the password for your Container Registry. Remember we have enabled the Admin User property while creating the Container Registry?
Container Registry Settings
Creating a Docker Container in Local

Docker version
- It’s a web app based on Node.js
- It’s a private npm registry
- It’s a local network proxy
- It’s a Pluggable application
- It’s a fairly easy install and use
- It is 100% compatible with yarn, npm, and pnpm
- It was forked based on and
sinopia@1.4.0100% backward compatible.
Let’s pull the image of Verdaccio now.
docker pull verdaccio/verdaccio
Once you have done that, try to run “docker images” you should be able to see your Verdaccio image.
verdaccio/verdaccio latest c542d9e516e4 3 weeks ago 659MB
It may take a few minutes to pull the entire image. As I have already pulled the latest image, it will be quick for me and get the output as below.

Docker pull verdaccio
You can also tag the version you need, just in case.
docker pull verdaccio/verdaccio:3
Now it is time to run the Verdaccio, are you ready?
docker run -it --rm --name verdaccio -p 4873:4873 verdaccio/verdaccio
The last argument is our image name, if you don’t have such an image in your local, the same will be pulled from the Docker hub. As you might have noticed already we are using the port 4873, and the same will be mapped to the container instance port later when we create the container instance. Now please make sure that you are getting an output as preceding.

Verdaccio docker run
You should now be able to go into http://localhost:4873 and see that verdaccio is running successfully.
Pushing Local Container to Azure Container Registry
Now that we have an Azure Container Registry running and a local container which can act as a private NPM registry. What are we waiting for? Let’s just push this to our ACR. Before that, we need to login to our Azure Container Registry server.
docker login sibeeshpassion.azurecr.io
Once you run the above command with the correct credential, you will be able to see the output as below.

Docker login Azure container registry
Now let’s just tag our image, as this will help to manage our images easily in the Container Registry.
docker tag <image name> <login server>/<repository name>/<name>:v1
For example, I used this command as below.
docker tag verdaccio/verdaccio sibeeshpassion.azurecr.io/verdaccio/verdaccio:v1
Let’s push our image to the Container Registry now.
docker push sibeeshpassion.azurecr.io/verdaccio/verdaccio:v1
If everything goes well, you must see an output as preceding.
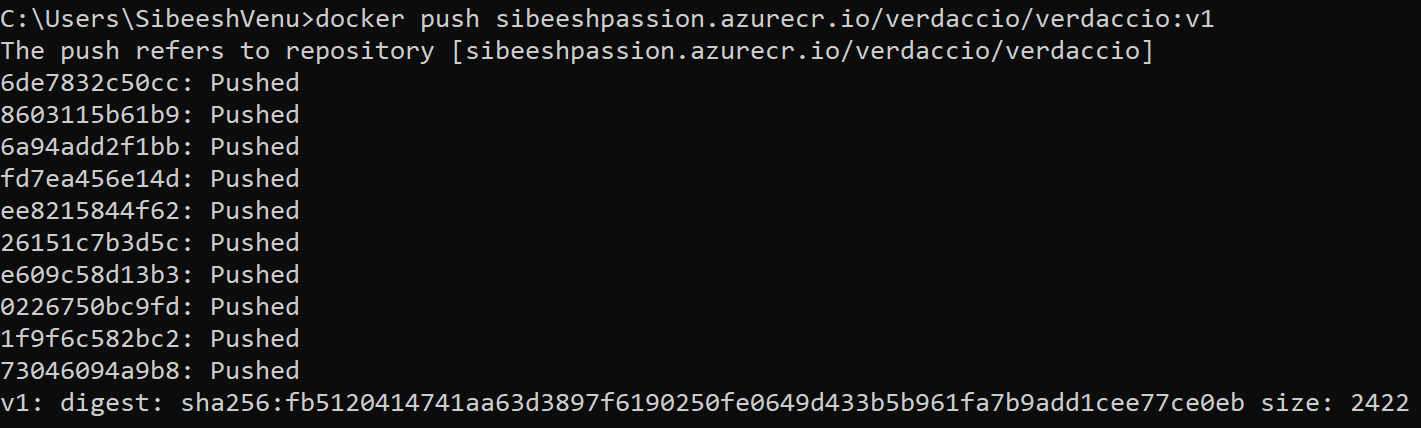
Pushing to Container Registry
Now, you can log in to your Azure portal and check the repositories of your Azure Container Registry. You should be able to see your image with the tag we have provided.

Repository in Azure Container Registry
Creating a Container Instance
Now, we have a valid Container Registry which can act as a private NPM registry and is that enough? N,o it is not, we are not finished yet. We need a place where this registry can run. Well, Azure has everything we need, we are going to create a Container Instance for this purpose. A container instance is a simplest and fastest way to run a single container. While creating the Container Instance, you will have to go through 3 steps.
- Configure the basic settings
- Specify container requirements
- Container instance
Configure Basic Settings
You can configure the settings as per your needs, I have configured mine as below.

Container Instance Basic Settings
Please be noted that I have given the container image type as Private.
Specify Container Requirements
Here in this step, I am going to select the Public IP address as “Yes”, so that I can set the DNS label while configuring. And I will also set the port as 4873.
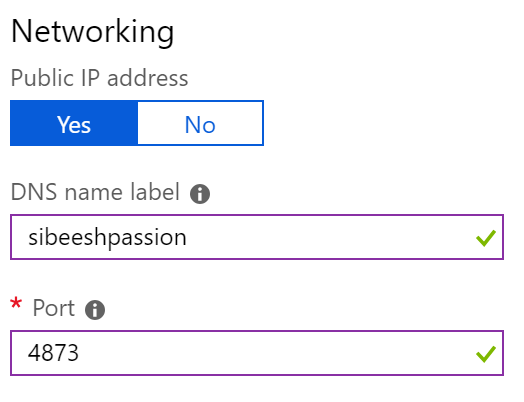
Network Settings in Azure Container Instance
Container Instance
In this step, you can verify all of your settings, and in the background, Azure will validate the settings and if it is valid, the OK button will be enabled, click OK once it is enabled. It may take some time to build your resource and once it is done you can always go to the overview of your Container Instance and run it with the port 4873. For example, I can see my container in this URL http://sibeeshpassion.westeurope.azurecontainer.io:4873/#/.
Pushing Your Own Private NPM Package to Docker Private NPM Registry
Wow!, we have a private Docker NPM registry now. Let’s just try to push our private NPM package to this registry now. I have created my own NPM package a few days back, if you want to know how, you can always read this article: Create Your Own NPM Package — Private or Public. I will open my package in the vscode.
Let’s add the user before we publish the package.
npm adduser --registry=http://sibeeshpassion.westeurope.azurecontainer.io:4873/#/
The above command will ask you for the username and password.
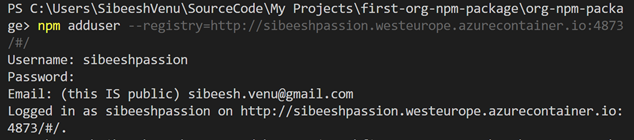
NPM Publish with Private Registry AddUser
Now we can run our publish command.
npm publish dist --registry=http://sibeeshpassion.westeurope.azurecontainer.io:4873/#/
You can get an output as preceding if the publishing is successful.
npm notice === Tarball Details ===
npm notice name:          org-npm-package
npm notice version:       1.1.1
npm notice package size:  7.8 kB
npm notice unpacked size: 37.9 kB
npm notice shasum:        f1d8e033bb6d2545502802510258cf9f8bcc9ab3
npm notice integrity:     sha512-3MuplP75D0gpj[...]Z5KFo0DNbzGFw==
npm notice total files:   22
npm notice
+ org-npm-package@1.1.1
What are you waiting for, just go and see your package in your Docker, I was eagerly waiting for this moment, and I am going to see my package by hitting my container here http://sibeeshpassion.westeurope.azurecontainer.io:4873/#/detail/org-npm-package.
Using Your Private Package from the Docker Private NPM Registry
Just run the below command and your private package will be pulled from your private Docker NPM registry.
npm install org-npm-package --registry=http://sibeeshpassion.westeurope.azurecontainer.io:4873
Conclusion
Congratulation, we have successfully created a Docker Private NPM Registry, go ahead and create as many private packages you wish and move those to your Private NPM registry. Thanks a lot for following/reading this article. I really appreciate your time and effort. In this article, we have learned how to,
- Create an Azure Container Registry
- Create a Local Docker Container
- Create Verdaccio image and run it in a local docker container
- Push the local Verdaccio image to the Azure Container Registry
- Set up the Docker Container Instance using the Azure Container Registry
- Pushing the NPM package to the Private Docker NPM registry
- Pulling the package from the Private registry
Your turn. What do you think?
Thanks a lot for reading. I will come back with another post on the same topic very soon. Did I miss anything that you may think which is needed? Could you find this post as useful? Kindly do not forget to share me your feedback.
Kindest Regards
Sibeesh Venu