
[toc]
Introduction
In my previous article, we have seen how to set up your Raspberry PI with the Raspbian operating system. Let’s try something different this time, here in this article you will learn how you can set up your Raspberry PI with the Microsoft Windows 10 IoT core. Both Windows 10 IoT core and Raspbian OS has its own advantages and disadvantages and that is a different topic, here we are not going to discuss it. For now, let’s just start working with the Windows 10 IoT core. Let’s just start then.
Background
I wanted to connect a Bluetooth iBeacon to a Raspberry PI and as an initial step, I had to configure the Raspberry PI. So I just thought to write this article while I am doing the configuration. Here we will install the IoT core OS in the Raspberry PI and connect a monitor, keyboard, and mouse to our mini computer. I hope you will find it useful.
Prerequisites
- Raspberry PI
- SD card
- Internet connection
- Ethernet, if your Raspberry PI supports wifi, you can skip this.
- Monitor and HDMI cable
- Keyboard
- Mouse
Setting up the Raspberry PI
Before you continue this step, please make sure that you have all the mentioned prerequisites.
Formatting an SD card
I am a person who likes to start everything from scratch, so as a first step, we are going to format our SD card. You can either use the normal Format option your Operating System offers. I always use the tool called SD Card Formatter. You can easily download the tool from the Internet. Once you have it installed, open the tool, and select the SD card to be formatted and then click on Format.
Installing Windows 10 IoT Core Operating System
According to Microsoft, Windows 10 IoT is a member of the Windows 10 family that brings enterprise-class power, security, and manageability to the Internet of Things. It leverages Windows’ embedded experience, ecosystem, and cloud connectivity, allowing organizations to create their Internet of Things with secure devices that can be quickly provisioned, easily managed, and seamlessly connected to an overall cloud strategy.
As a first step, we will be downloading a tool called Windows 10 IoT core dashboard, which will help us to format, write the IoT core OS to our SD card, connect to our Raspberry PI. Once you have downloaded the dashboard, open the tool and select the image you want to flash as preceding.
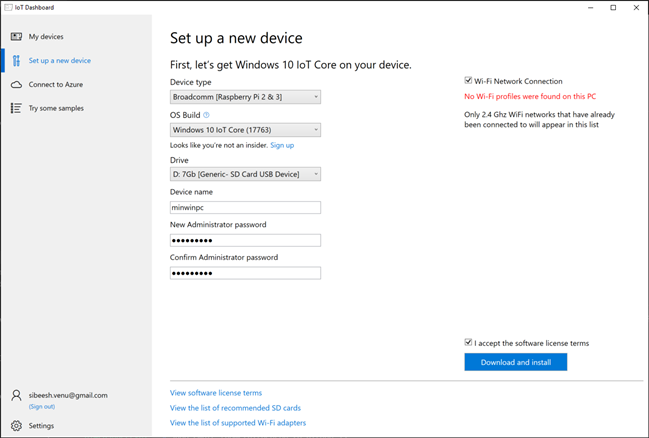
Set up a new device
Once the flashing is done, it will start deploying your image. Please make a note of the password you had given as it is needed in future to log in to the device portal. You can also change the device name as you wish.
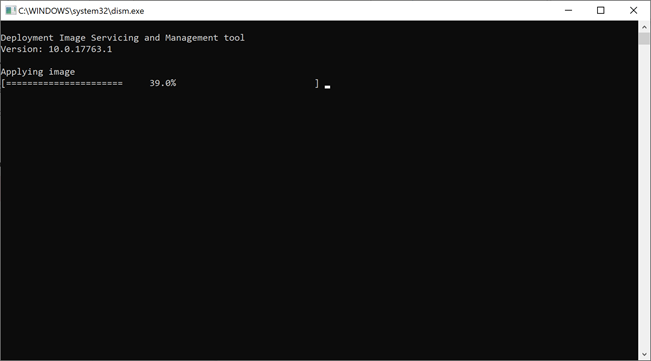
Deploy image
It may take a few minutes to complete the entire process, but it really worth waiting. Once the image flashing is done, you will get a screen as preceding.
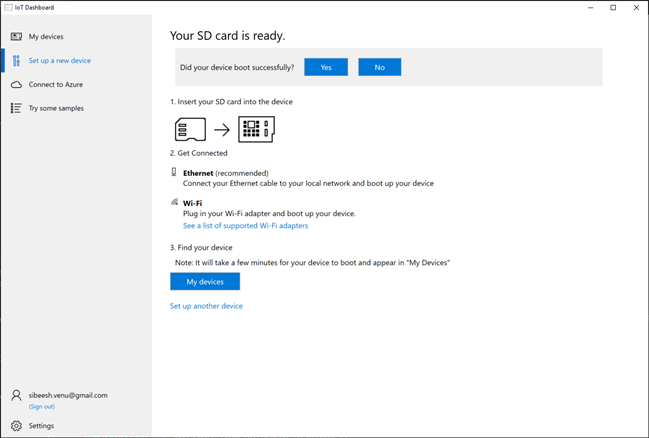
SD Card is Ready
Set up the device with Monitor, mouse, and keyboard
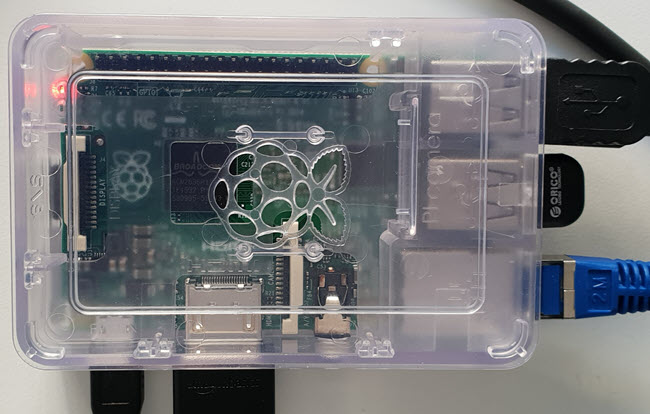
Now let us just insert the SD card in the Raspberry PI and connect the monitor, keyboard, mouse, and ethernet. Once you have done this, your Raspberry PI may look like below.
Raspberry Configuration
Once you are connected to the monitor, you can see that the OS is getting ready for doing amazing things. This may take a few minutes, and you should select your preferred language in the process. Once everything is done you should be able to see the device information on the screen as preceding.
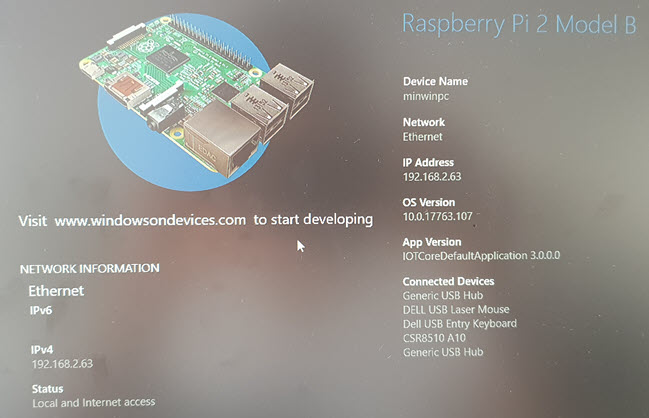
Raspberry PI Information
Please be noted that you can even update your OS if you wish by navigating to the App settings -> App updates.
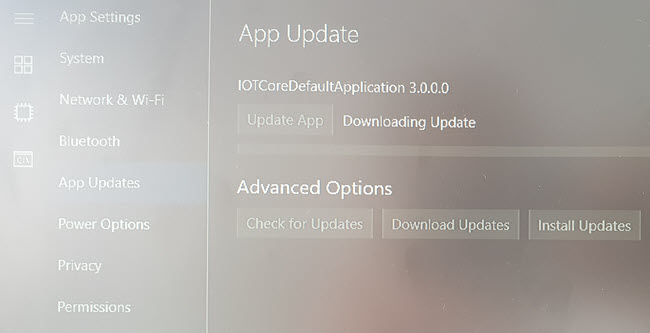
Update Windows 10 IoT Core
Login to Device portal
As we have connected and configured our WIndows IoT Core Operating System on our Raspberry PI, we can connect to the device portal now. Please open the IoT Core Dashboard application again and click on my devices and then right click on your device. You should see an option as ” Open in device portal”.
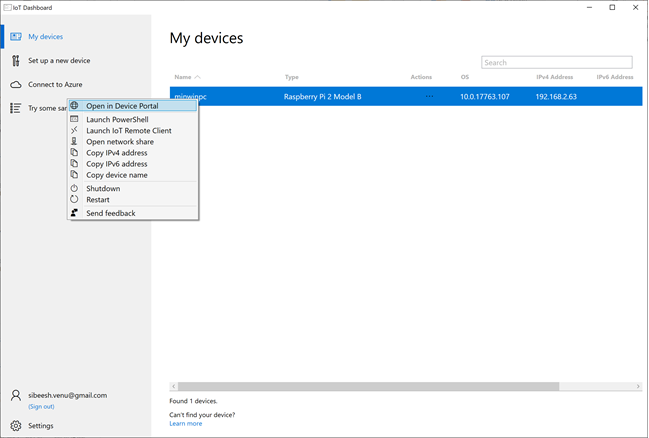
Connecting to the Raspberry Device
The device will open in the browser, you would have to enter the username as “administrator” and the password you had given while configuring the device. I used the password as “raspberry”. Once you are logged in you can see the App manager where you have the provision to set your start app applications and many more settings.
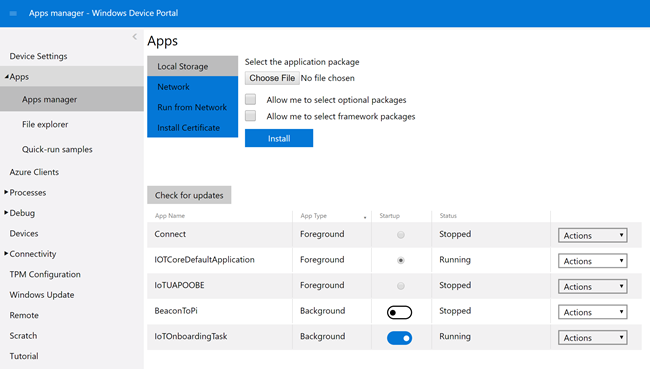
IoT Core Device Portal
Conclusion
Wow!. Congratulations. Now you have a small, lightweight, functioning windows 10 IoT core Raspberry PI in your hand, just go ahead and start playing with the same. To summarize the things we have done in this article.
- Format the SD card
- Flashed the Windows 10 IoT core OS in the SD card
- Updated windows 10 IoT core on Raspberry PI
- Open the device portal
Your turn. What do you think?
Thanks a lot for reading. In the next article, we will create an application and make it running inside the Raspberry PI. Did I miss anything that you may think which is needed in this article? Could you find this post as useful? Kindly do not forget to share me your feedback.
Kindest Regards
Sibeesh Venu