

[toc]
Introduction
Windows services are a good way for reducing some manual jobs that we have to do in our system. In this article, we are going to write a windows service using Asp.Net core, the jobs of this windows service is given below.
- Zip the folder and save the file to a particular directory
- Upload the zipped folder to the Azure blob storage
The above mentioned tasks will be running daily, weekly, monthly. We are using Quartz scheduler with Dependency Injection to do this amazing tasks. We are using Nlog for logging the details of our tasks. If you think this is something that you are interested at, then you are at the right place, let us develop our PerfectScheduler.
Source Code
The source code of this project is been uploaded to the GitHub, please feel free to fork, star, create pull requests etc. The repository can be found here.
Creating Perfect Scheduler
As I mentioned earlier, we are creating a windows service with Asp.Net core, technically there is no straight way to do this, as the Windows Service with Asp.Net core template is not available in Visual Studio.

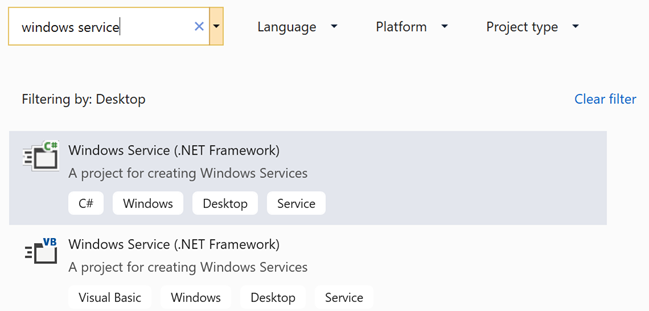
so we will be creating an Asp.Net console application and then install executable file generated as a windows service.

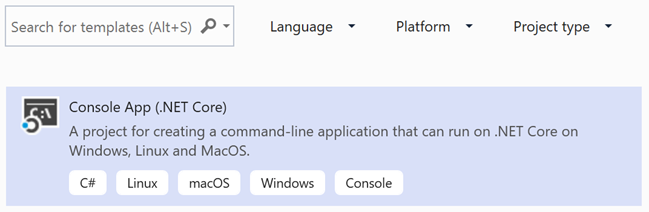
Creating an Asp.Net Console Application
Open Visual Studio and search for the project template Console App(.Net Core) and name the solution as per your convenience, I am naming this project as Perfect Scheduler, as I am thinking that we, the community people can make this windows service perfect by creating many pull requests.
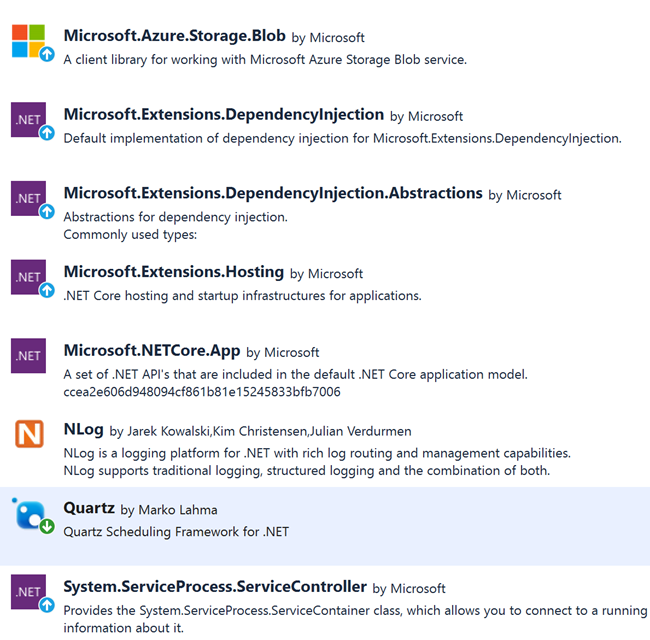
Once you had created the application, let us install all of our dependencies at once, so that we don’t need to worry about them later.

Write the Service
As we have installed all of our dependencies, let us create our service now. Add a new class with the name BackupService and inherit the same from IHostedService, which is part of Microsoft.Extensions.Hosting namespace.
The IHostedService has two methods in it as follows, so we should implement them in our service class.
StartAsync
The StartAsync method can be implemented as preceding.
As you can see that in the first line of the above code, we are getting the scheduler of Quartz. Let us create a method and return a scheduler then.
The next step is to build a service provider so that we can inject our dependencies using Constructor Dependency Injection. By default the Quartz is not doing this, so we have to build the configuration our own.
As you can see that we have configured the services for DailyJob, WeeklyJob, MonthlyJob and HelperService. No worries, we will be creating these Classes and Interfaces very soon.
Once we get the Service Provider, we can pass this to our Custom Job Factory, which we will be implementing soon. Now, we can start the scheduler and schedule our jobs, please make sure that you are using different Identity names for both Triggers and Jobs. The samples are given below.
StopAsync
The StopAsync method can be implemented as follows
Creating the JobBuilders and TriggerBuilders
Now we can create the Interfaces and Classes for our Jobs, which are Daily, Weekly, Monthly. To do so, let us create a new folder called Helpers and then create a folder called Interfaces inside. Below are the Interfaces you need to create then.
IDailyJob
IWeeklyJob
IMonthlyJob
Let us also create an Interface for our HelperService.
IHelperService
The parameter schedule is for determining which job it is, the value of this parameter can be daily, weekly, monthly.
Create a Custom Job Factory
To implement the Dependency Injection, we need to create our own custom job factory. Create a class inside the Helper folder as preceding.
Implement the Job Builder Interfaces
Now it is time to implement our Daily, Weekly, Monthly job builders.
DailyJob
WeeklyJob
MonthlyJob
As you can see that we have configured separate classes for our each jobs with the dependency IHelperService injected via constructor. In the future we should be able to write custom logic for each jobs here as it is in separate classes.
Implement HelperService
Before we start implementing this service let us configure the NLog now as we will be writing logs from this class.
Configure NLog
To configure, NLog, create a new configuration file NLog.config and edit the content as preceding.
Now, create a method SetUpNLog() and add the codes as below.
Please make sure that you have already added a property ILogger _logger.
We can implement the HelperService as preceding with all the necessary private and public methods.
The method PerformService(string schedule) will be called for every schedule and it will make sure that the below tasks are performed.
- Zip the folder and save the file to a particular directory
- Upload the zipped file to the Azure blob storage
Here, the values of the the variable and the blob storage container names are same, that is, daily, weekly, monthly. If you are not sure how you can upload a blob to Azure storage account, I strongly recommend you to read my article here.
Remember to set the values for the FolderToZipLocation(To which location the file should be saved), FolderFromZipLocation (From where the files should be taken), StorageConnectionString in the App.config file.
Setting Up The Program
As you all know that Program class it the start of our console application, not it is time to call our BackupService from the Program class. Let us edit the code of the Program class as below.
If we are running the application locally/debug, we are calling the extension method RunConsoleAsync() or else we call our own custom extension method RunTheServiceAsync(). The line services.AddHostedService() is very important as this is where we register our IHostedService, which is BackupService. Below is the code for our extension method.
The ServiceLifetime class is where we override the methods from ServiceBase class. You can find the implementation as follows.
Creating the Windows Service
As we have already created the Asp.Net Core console application, now it is time to create a windows service from it. Make sure that you had set the RuntimeIdentifier to win7-x64 and SelfContained to true in the properties of your project, this will make sure that all of your dependencies are being added to your executable file, so that you don’t need to worry about handling your dependencies manually. You can read more about it here. To do so, right click on the project and click on Edit Project File. At the end, your csproj file should be similar as preceding.
Create the Release Configuration
You should also run the dotnet publish command with the release configuration before you try to install the service, because you need this executable file to install the service.
Open the command prompt with administrator privilege and go to the project root folder using the cd command. Run the command “dotnet publish –configuration=release” .
This will generate everything you wanted. If you run the command correctly, you should see an output as preceding.

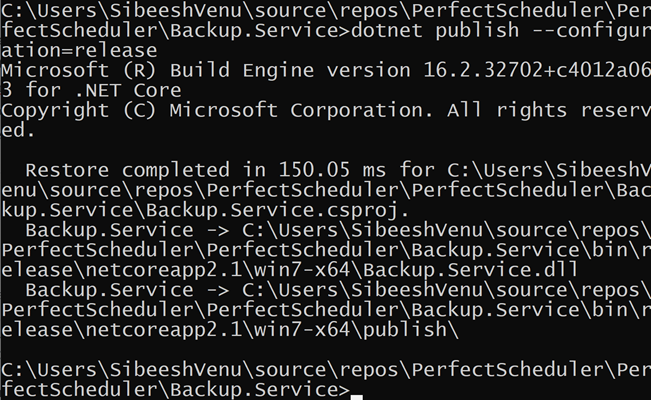
Now go to the bin folder and then release folder, you should see a folder with the name netcoreapp2.1, inside this folder, there will be a folder win7-x64, this is the folder where your exe file, log file and other items are residing.
Install the Service
To install our Asp.Net console application as a windows service, you can use the sc command. Open the command prompt with administrator privilege and run the preceding command.
And then you can start the service by running the command as “sc start BackupService”. This should start your service.
Giving Permission to the Folders
Sometimes you may get some permission issue in your service as it doesn’t have enough permission to read the files form the C drive. To overcome this, you should give enough permission to the user. You can do this by editing the security properties of those folders.

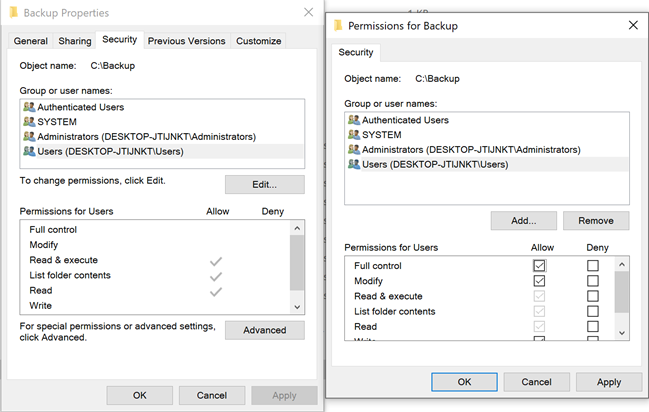
Do the same for the BackupZip folder as well.
Output
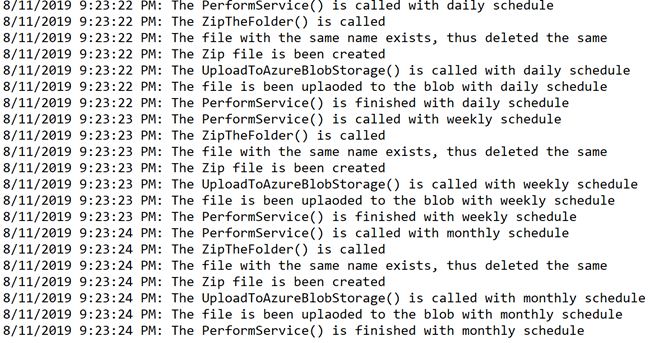
If you have run the service correctly, you should see a log file with the name backupclientlogfile.txt inside your win7-x64 folder. Once the service is run, the logs will be written as follows.
You can also check your Azure Storage account to check whether the files have uploaded correctly or not.
Conclusion
Wow!. Now we have learned,
- about Windows Service and Asp.Net Console Application
- about How to create a Windows Service using Asp.Net Core
- about How to use Quartz scheduler
- about How to use NLog in Windows Service
- about How to configure Quartz scheduler to use Dependency Injection
- about How to Zip a folder and save the file
- about How to upload a file to the Azure blob storage
Your turn. What do you think?
Thanks a lot for reading. Did I miss anything that you may think which is needed in this article? Could you find this post as useful? Kindly do not forget to share me your feedback.
Kindest Regards
Sibeesh Venu