

[toc]
Introduction
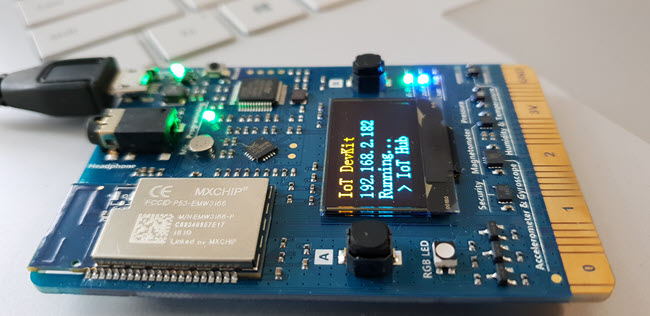
For the last few days, I am playing with my Azure IoT Dev Kit MXChip. In this article, we are going to see how we can set up an Azure Function as an Output job topology of an Azure Stream Analytics job. Isn’t that sound interesting? In our previous articles, we have already seen what is an Azure Stream Analytics Job and How can we create in by using the portal and Visual Studio. If you haven’t read those articles, I strongly recommend you to read. Let’s jump on to this article now.
Background
As I have mentioned earlier, in this article we will be,
- using our existing Azure Stream Analytics job.
- creating a new Azure Function App.
- setting up the newly created Azure function as an output job topology of the stream analytics job.
- monitoring the data coming to the Azure Function from the stream analytics job.
Play with Azure Function
Yeah, we are going to play with it. Let’s go and create one then.
Creating an Azure Function
To create an Azure Function application, you need to login to your Azure portal and click on the Create a resource icon, and then you can search for the ” Function App”.
In the next screen, provide the following information.
- App Name
- Subscription
- Resource Group
- OS
- Hosting plan
- Location
- Runtime stack
- Storage
- Application Insights
Here the consumption plan hosting plan allows you to pay per execution, and the App service plan allows you to have a predefined capacity. For the runtime stack, we will use .NET, however, you are free to use anything you wish.
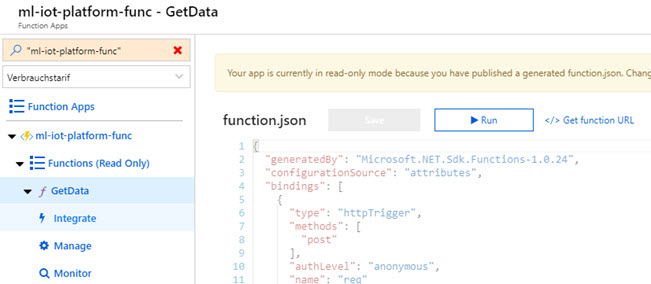
Once you have created the same, you should be able to see it under the Function Apps section.
Creating an Azure Function Solution and Function
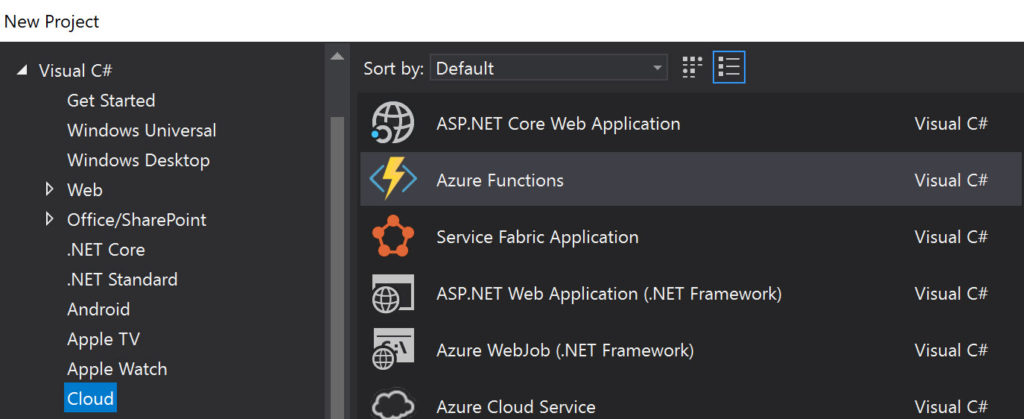
Now let’s go to our Visual Studio and create a new solution for our Azure Function.

Now you can right click on your newly created project and add a new HttpTrigger Function. We will keep the Access Rights to Anonymous for now. I have named my function as “GetData”. For now, let’s just get the data from our Stream Analytics job and just check the length.
using Microsoft.Azure.WebJobs;
using Microsoft.Azure.WebJobs.Extensions.Http;
using Microsoft.Extensions.Logging;
using Newtonsoft.Json;
using System.Net;
using System.Net.Http;
using System.Threading.Tasks;

namespace ml.IoTPlatform.AzureFunctions
{
    public static class GetData
    {
        [FunctionName("GetData")]
        public static async Task<HttpResponseMessage> Run(
            [HttpTrigger(AuthorizationLevel.Anonymous, "post")]HttpRequestMessage req,
            ILogger log)
        {
            log.LogInformation($"GetData function triggered with Uri {req.RequestUri}");

            string content = await req.Content.ReadAsStringAsync();
            log.LogInformation($"String content is {content}");
            dynamic data = JsonConvert.DeserializeObject(content);

            log.LogInformation($"Data count is {data?.Count}");

            if (data?.ToString()?.Length > 262144)
            {
                return new HttpResponseMessage(HttpStatusCode.RequestEntityTooLarge);
            }

            return req.CreateResponse(HttpStatusCode.OK, "Success");
        }
    }
}
As you can see we are not doing nothing much for now, we are just receiving the data as HttpRequestMessage and we are reading the content as req.Content.ReadAsStringAsync() and then deserialize the object. If you are not doing this step, you may get an error as “No MediaTypeFormatter is available to read an object of type ‘Object’ from content with media type ‘application/octet-stream’.“
We are also checking the entity length, and if it is too large we are sending a HttpResponseMessage with status code 413.
Publish the Azure Function App
To publish your Azure Function app, just right click on your project and click Publish and then set up your publish target by choosing the existing Azure Function App, remember we have created on earlier? Once you publish the same, you can go into your Function App and see your Function. You can also test the same with some dummy data.
There are probabilities to get an error as “Web Deploy cannot modify the file on the destination because it is locked by an external process” when you try to publish your Function App from Visual Studio, while your Function App is running, to fix this you can see my answer here.

Azure Stream Analytics Job
Let’s go back to our Azure Stream Analytics now as we have already configured our Azure Function App successfully.
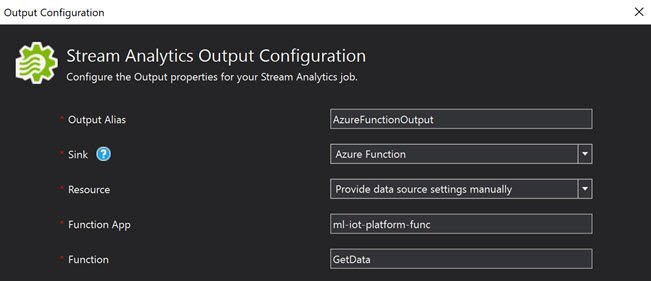
Configure Azure Function Output
In my previous article, we had created an Azure Stream Analytics job solution using Visual Studio, let’s open that solution now and configure the new output for Azure Function.

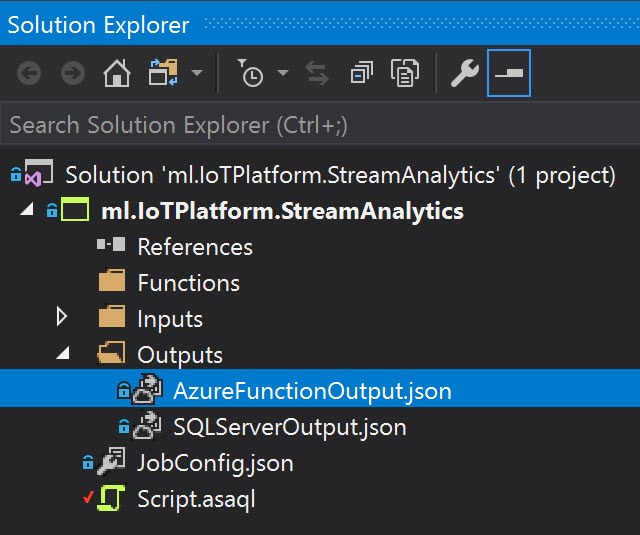
While configuring the Azure Function Output, please make sure that you are selecting the existing azure function app.

Update the Script
We should also do some changes in our Script.asaql file to support our newly created output.
WITH BasicOutput AS
(
SELECT
    messageId,
    deviceId,
    temperature,
    humidity,
    pressure,
    pointInfo,
    IoTHub,
    MAX(EventEnqueuedUtcTime) AS EventEnqueuedUtcTime,
    EventProcessedUtcTime,
    PartitionId
FROM
    Input TIMESTAMP By EventEnqueuedUtcTime
    GROUP BY TUMBLINGWINDOW(second, 10),
    messageId,
    deviceId,
    temperature,
    humidity,
    pressure,
    pointInfo,
    IoTHub,
    EventEnqueuedUtcTime,
    EventProcessedUtcTime,
    PartitionId
)

SELECT * INTO SQLServerOutput FROM BasicOutput
SELECT * INTO AzureFunctionOutput FROM BasicOutput
Updating the TLS Version
Once that is done, just click the button Submit to Azure, if you have any doubts in this section, read my previous posts on this topic. Now let’s log in to the portal again and see all the outputs, inputs, and the query is been published or not.

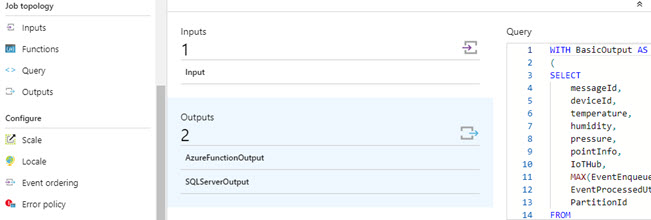
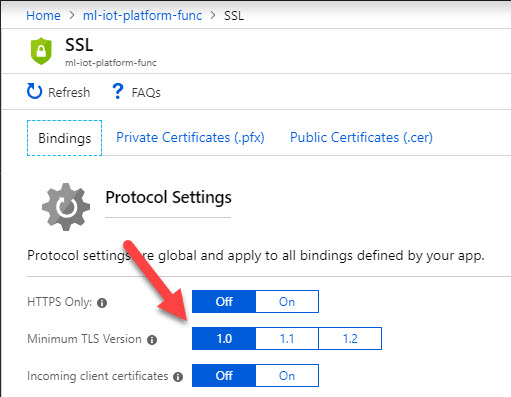
Cool!. Well done, it seems like it is published. Now if you click on the AzureFunctionOutput, you may get a warning as “Please make sure that the Minimum TLS version is set to 1.0 on your Azure Functions before you start your ASA job“. I would rather treat this as an error instead of a warning because without making this changes our Azure Stream Analytics job will not write to our Azure Function. So this is very important, I spent many hours in this and finally found this was the root cause of my issue, you can see my answer about this here.
So just go to your Azure Function App and click on Platform Features -> SSL -> Minimum TLS Version

There is a saying that developers don’t care about warning but only the errors, in some cases it is true. Hm, I was just kidding.
Output
Once you are done everything mentioned, you are good to go and start your Stream Analytics job, please make sure that your MXChip is connected to a power source so that the device can start sending the data.
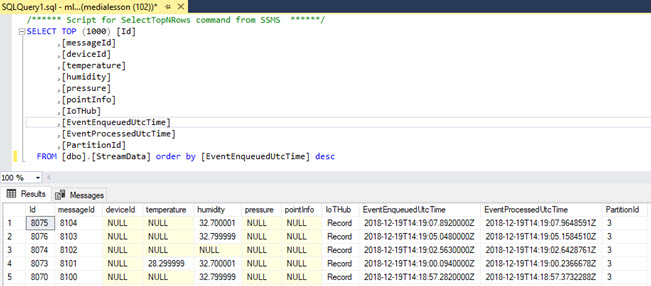
Checking the SQL Server Output
Now let’s login to our SQL Server Database and run the below query to make sure that we are getting the data from the device.
SELECT TOP (1000) [Id]
      ,[messageId]
      ,[deviceId]
      ,[temperature]
      ,[humidity]
      ,[pressure]
      ,[pointInfo]
      ,[IoTHub]
      ,[EventEnqueuedUtcTime]
      ,[EventProcessedUtcTime]
      ,[PartitionId]
  FROM [dbo].[StreamData] order by [EventEnqueuedUtcTime] desc
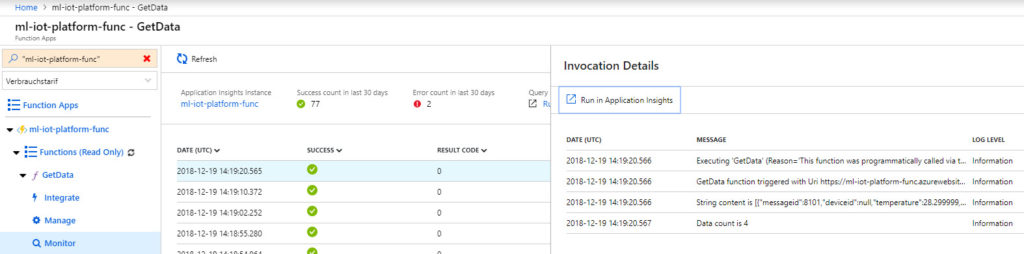
Checking Azure Function Output
To check the Azure Function Output, we can go back to our Azure Function and click on the Function and use the Monitor option.

Please be noted that you can always check your Azure Stream Analytics job Activity Log if you found something is not working.
Conclusion
In this article, we have learned how to,
- work with an Azure Stream Analytics job
- create an Azure Function App
- create Azure Function App solution in Visual Studio
- write an HttpTrigger function and publish the same to the Azure Function App
- set up the Azure Function App as an output job topology of Azure Stream Analytics job
- Use the created package in another solution
In our next article, we will see how you can send this Azure Function Output data to an Azure SignalR service and then get the same data in an Angular Application. I can’t wait to write my next article.
Your turn. What do you think?
Thanks a lot for reading. I will come back with another post on the same topic very soon. Did I miss anything that you may think which is needed? Could you find this post as useful? Kindly do not forget to share me your feedback.
You can always see my IoT articles here.
Kindest Regards
Sibeesh Venu