Raspberry PI SD Card Provisioning with Windows 10 IoT Core – Create FFU Image and Flash
[toc]
Introduction
In my previous article, we have seen how to Set Up Your Raspberry PI with Microsoft Windows 10 IoT Core. Yes, we were successful in flashing the Microsoft Windows 10 IoT Core OS to our Raspberry PI, but let’s try something very handy this time. The main topic we are going to discuss here in this article is SD Card Provisioning. I understand that you have one Raspberry PI with a working OS in it, whether it is a Microsoft IoT OS or Raspbian. And you might also have an application which runs in your Raspberry Pi. That’s good. But what if you have 100 Raspberry PI and you need to set up your Raspberry PIs for a production environment? Did you get the difficulties in your mind? In this article, we are going to start a series of articles on SD Card Provisioning. For now, let’s just start doing some amazing things. Let’s just start then.
Background
Yeah, I am glad that you have a Raspberry PI with Windows 10 IoT core OS. While setting up your OS, you might have downloaded the IoT Dashboard and flashed the IoT OS to your SD card manually. As I mentioned in the Introduction, this is not a normal scenario when you want to connect multiple (let’s say 100) Raspberry PIs. Flashing the OS by using the Dashboard application might not be a good idea in this case. What should we do then? That’s where PowerShell come into the play. Yes, we are going to try out some PowerShell commands to do all those mentioned jobs for us.
Prerequisites
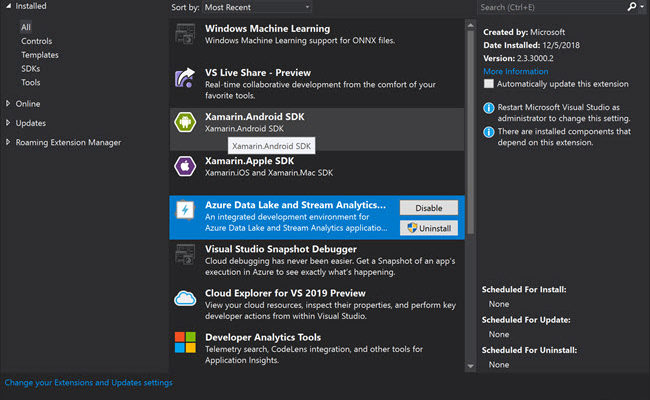
To do the wonderful things, we always need some prerequisites. You can always see all the prerequisites from here. But, in this part, we are going to be needed only the preceding tools.
- Windows Assessment and Deployment Kit (Windows ADK)
- Windows Driver Kit (WDK) 10
- IoT Core ADK Add-Ons
- Windows 10 IoT Core Packages
- The Raspberry Pi BSP
Creating the Base Windows IoT FFU Image
I assume that you had already gone through the Prerequisites and followed the instructions. If not, please check again.
Create a Workspace
To get started here, please go to the cloned location of the repository iot-adk-addonkit, where you will find a Windows Command Script IoTCorePShell.cmd. Double click on the same file will open a PowerShell with administrative privilege. Now, this is where the game starts. Once it opens it will do some initial process for us.
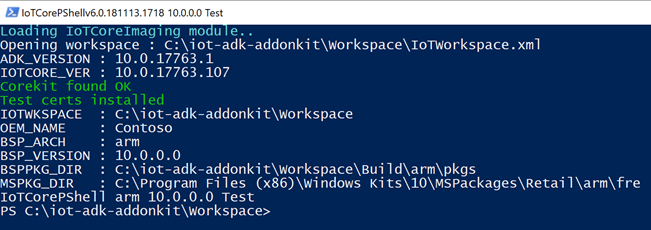
Running IoTCorePShell.cmd
Now let’s create a workspace now.
New-IoTWorkspace C:\Workspacefolder oemname arm
(or) new-ws C:\workspacefolder oemname arm
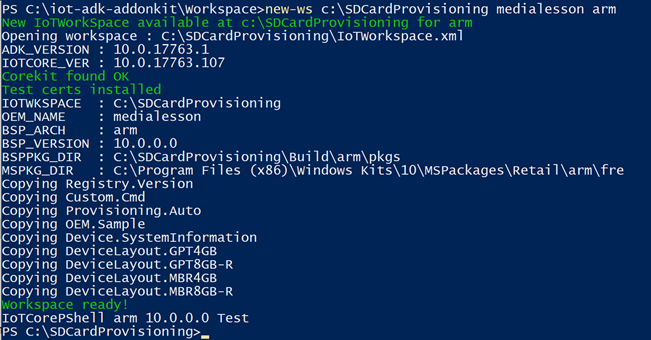
new-ws command
Now we have created a workspace successfully. Please be noted that the BSPPKG_DIR is “C:\Program Files (x86)\Windows Kits\10\MSPackages\retail\arm\fre”. I strongly recommend you to check that folder whether you have contents in it or not if there is no content you might haven’t installed the packages mentioned in the prerequisites.
Build BSP
Now it is time to think about the BSP aka Board Support Package. As we already know that we are using Raspberry PI, we can directly download the RPi_BSP.zip file from the GitHub release page. Then you can perform the below commands.
Import-IoTBSP RPi2 C:\Downloads\RPi_BSP.zip
(or) importbsp RPi2 C:\Downloads\RPi_BSP.zip
buildpkg RPi2
If everything is right, you should see an output as below.

Import Raspberry BSP
Build Packages
Once you have created the workspace and extracted the BSP, it is time to build all of our packages.
New-IoTCabPackage All
(or) buildpkg all
If you miss this step before you go to the next step, you will get an error as follows when you build your image.
info: Trying to load file 'C:\OEEWorkspace\Build\arm\InputFMs\OEMFMFileList.xml' as a FM file list ... fatal error : Error: Missing package: C:\OEEWorkspace\Build\arm\pkgs\test.OEM.Sample.cab
info: Trying to load file 'C:\OEEWorkspace\Build\arm\InputFMs\RPi2FMFileList.xml' as a FM file list ... fatal error : Error: Missing package:
You will also end up in the similar GitHub issue. Trust me, finding the root cause of this issue took me some hours and at the end, I answered my findings here in StackOverflow.
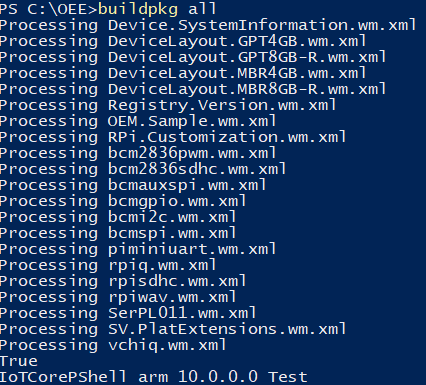
Building all the packages
Once the build is successful, you should be able to see the cab files in your workspace location, in my case, it is C:\OEE\Build\arm\pkgs.
Create a Product
Now let’s create a new Product, consider this as the device for which we are building an image for. We will be using the BSP we have extracted for this step.
Add-IoTProduct ProductA RPi2
(or) newproduct MyProductA RPi2
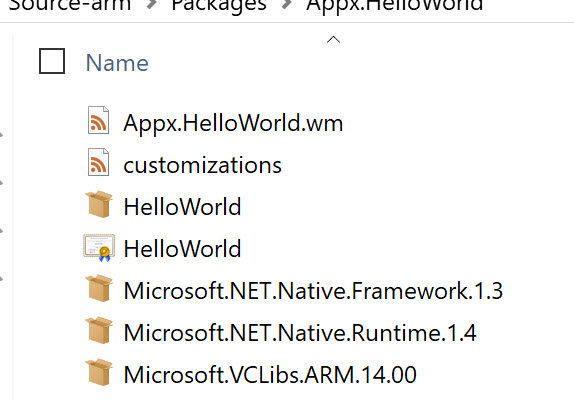
You will be asked the Manufacturer Name (OEM Name), Family, SKU, BaseboardManufacturer, and BaseboardProduct. You can get the BaseProductName from your Workspace location, in my case C:\OEE\Source-arm\BSP. You can see the sample command here in the preceding image.
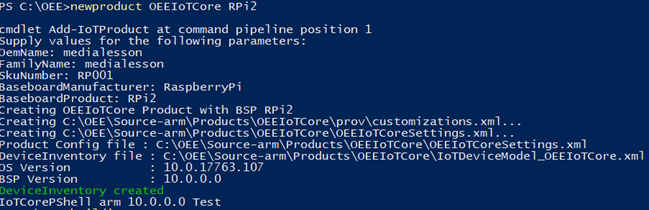
Creating a new Product
The command shown in the image will generate a new Product in the Workspace location C:\OEE\Source-arm\Products\OEEIoTCore.
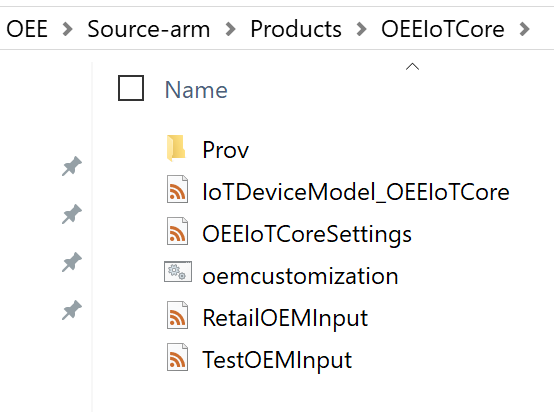
Add-IoTProduct Output
Build the Image
We are almost done, let’s eject all the removable devices from the system and then run the below command.
New-IoTFFUImage <product name> Test
(or)buildimage <product name> Test
This command will give you the FFU image with your base image.
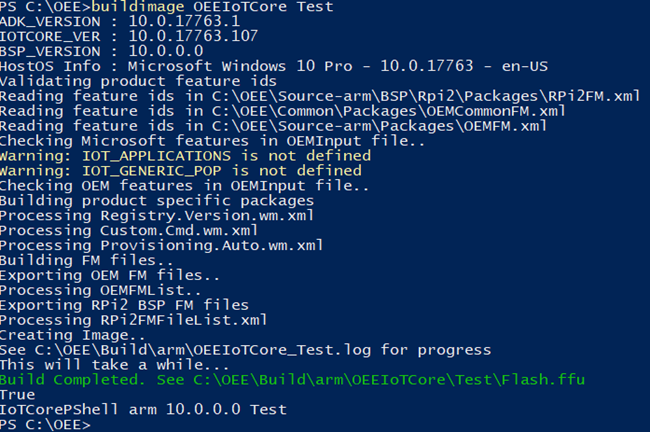
Building Image and Generate FFU File
You can also see the logs in your workspace location in the build folder. The generated FFU image(Flash.ffu) will be available at C:\OEE\Build\arm\OEEIoTCore\Test folder.
Writing/Flashing the FFU Image to SD Card
Wow!, now we have a fully functional FFU image and the only thing pending is to write some bat commands to flash it to SD card, you can use the DISM. Let’s create a text file called format.txt and write some commands as preceding.
select disk 1
clean
create partition primary
select partition 1
active
format fs=fat32 quick
assign
exit
As you can see that we are selecting the disk 1, considering the fact that only one removable disk is been connected to your machine. Then we format the disk. This format.txt file will be used in our bat file write.bat.
echo off
REM Start formatting
diskpart /s format.txt >log.txt

REM Start flashing
dism.exe /Apply-Image /ImageFile:Flash.ffu /ApplyDrive:\\.\PhysicalDrive1 /SkipPlatformCheck /Quiet

ECHO Finish
The logs will be added to the file called log.txt. The command ImageFile:Flash.ffu is the place where we assign our FFU image. Now let’s just go to the folder where these three files are been placed and open a command prompt in administrative power.
- write.bat
- format.txt
- flash.ffu
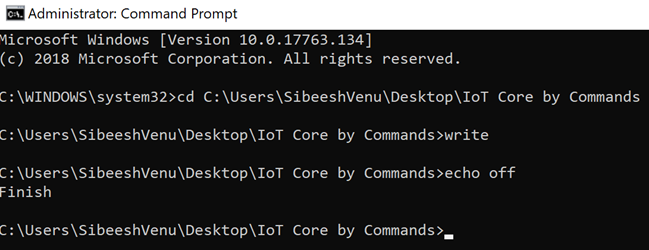
Flash IoT Core by Commands
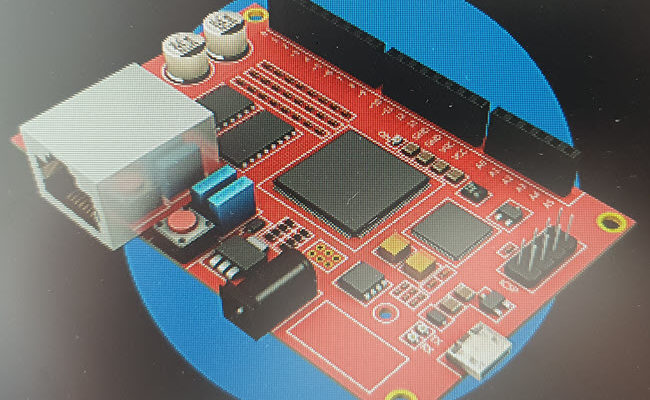
Connect SD Card to Raspberry PI and then Raspberry PI to the Network
Now that our OS is flashed and it is time to connect the SD card to the Raspberry PI and connect a monitor, mouse, keyboard, ethernet to the Raspberry PI. You will see the default IoT core application running. You can also check in the device portal using the IoT Dashboard application, if you are not sure how, please read my previous post.
Conclusion
Wow!. Now we have learned,
- how we can generate the IoT core FFU image using PowerShell
- how to write the same to an SD card.
Is that all? No, in the next article we will learn
- how we can add our app package to this FFU image which can be used in many Raspberry PI
- how to generate the FFU image on demand with some chained PowerShell commands.
- how to use other mechanisms to write the FFU image to the disk
Your turn. What do you think?
Thanks a lot for reading. Did I miss anything that you may think which is needed in this article? Could you find this post as useful? Kindly do not forget to share me your feedback.
Kindest Regards
Sibeesh Venu