
[toc]
Introduction
We all get stuck somewhere in our so-called “Programmer Life” for a small requirement. And I was stuck with such a requirement that the content of the PDF file uploaded to my SharePoint online is not searchable, however, the PDF I created manually from the Word document works fine. Let me tell you why!. Typically there are 3 kinds of PDF files.
- Normal PDF: These are the files that you get from applications like Microsoft Word, Adobe tools, etc. The beauty of this file is that the content of this file can be searched, you can select the text in this file, style them and copy-paste, etc.
- Scanned PDF: This one is exactly opposite to the first one, and this was Villain in my requirement. The issue with this type is that though the content looks visually the same, it can not be searchable, select, copy-paste, etc, as in the end it is an image inserted to a PDF document. Now how can we read the contents of this file, that is where the technology called OCR (Optical Character Recognition) comes into the picture. With this, we can read the content, and make them searchable, etc. And when we do that, we introduce the third type of PDF file
- Searchable/OCRed PDF: It is the type that we get from the OCR process as an output. In the end, this type will have two-layer in it, one is the image that we get from a scanner, and the second is the text content. With this two-layer, this file becomes almost equal to the first kind
Now let’s go see what was my requirement and how did I overcome this process.
Background
Technology is fast and starts running today if you want to touch it. I have a One Drive Sync folder to which I save the scanned PDF files from my scanner and once that is done the same will be synced to my SharePoint online. So far so good. But the problem is the content of these files are not searchable. Now let’s fix that.
Fix to make Scanned PDF files searchable
We use Microsoft Flow to do this process of converting the Scanned PDF to the Searchable PDF file. And in the flow, there are many ways that you can do this, I initially tried to do it with the combination of Computer Vision AI and some other services as preceding.

But, I was not getting the expected output when I was using them. So, I decided to go with other options. If you are new with OCR technology or Computer Vision AI, you can find my article here.
Create a flow
The files are being synced to my Document folder in SharePoint, thus I needed to create a flow that gets triggered whenever there is a file uploaded.


Click on the “Create a flow” then you will be asked to select the flow template. I selected the template “When a new file is added in SharePoint, complete a custom action”.

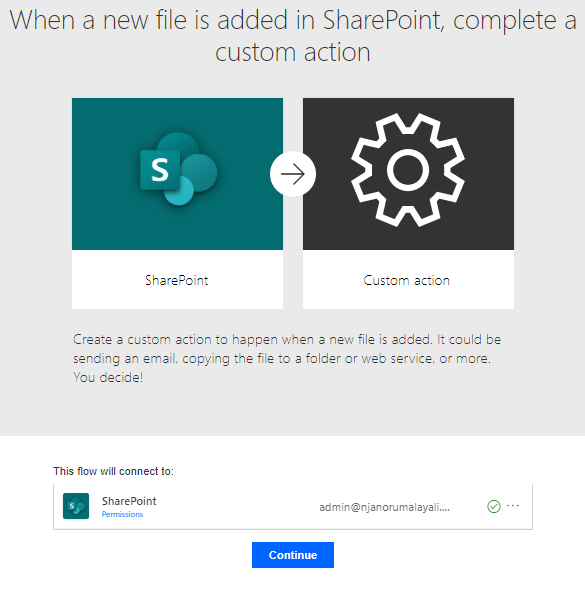
Once you click on the Continue button, you are good to create new steps in your flow.

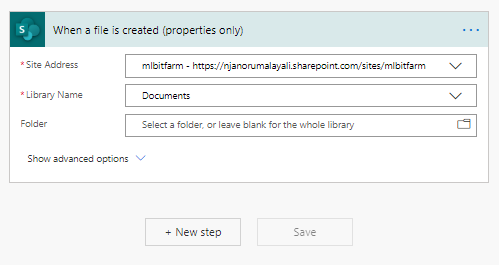
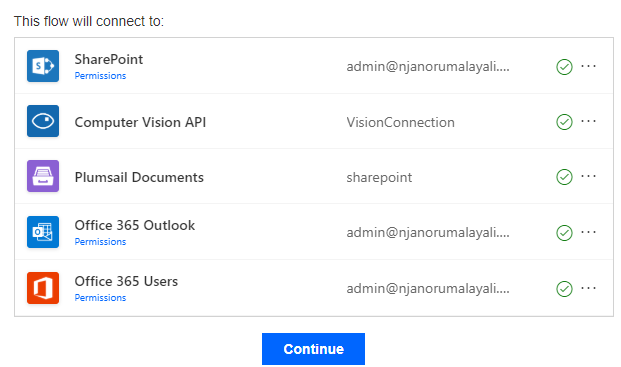
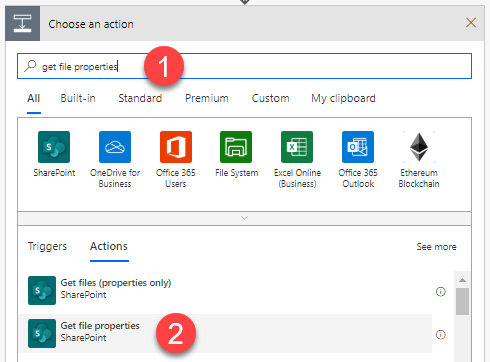
Flow is a step by step solution and some steps may be having an output that we can carry to the next step and in our flow, we use this a lot. Once you connect to the SharePoint site, we need to get the uploaded file properties, to do that, click on the +(plus) icon, select “Add an action” and then search for “Get File Properties”

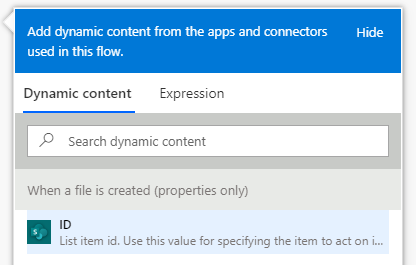
Now select the Site address and the library, and then click on the ID field, you will see an option to select the output of the previous step.

Now we get the file and need to check the file type right, to do that add a condition control and then add the conditions to it.

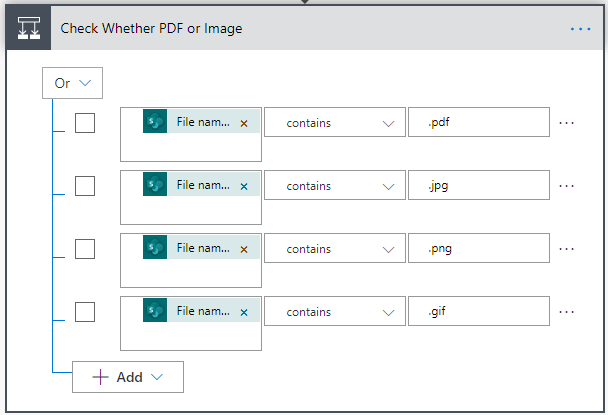
Each condition will have an output as “Yes” or “No” and in the “Yes” part, we will add all of our other steps and we will not think about the “No” output now. But, you can think of adding some tasks there.
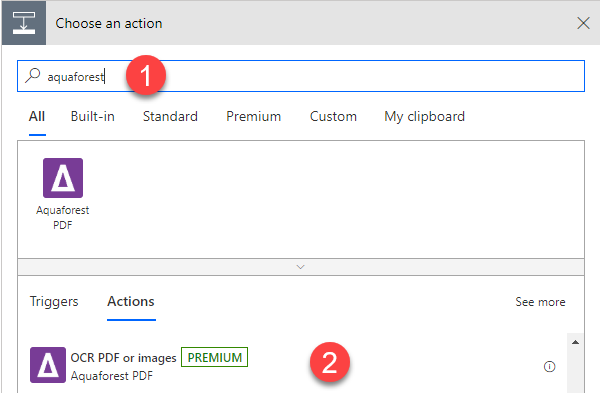
Now in the “Yes” tab, we can get the file and pass it to the OCR process, that is where the tool called AquaForest comes into the story. Please follow the steps mentioned in this article and get the key needed. Once that is done, add the action “OCR PDF or Images” by searching the word ” AquaForest”.

Give the connection a name and add the key in the next popup. There are many properties that you can set here, but the below two are important.

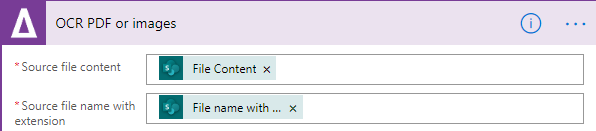
As an output of this step, we get the OCRed file and now all we have to do is to add the action called “Create File” and set up the same.

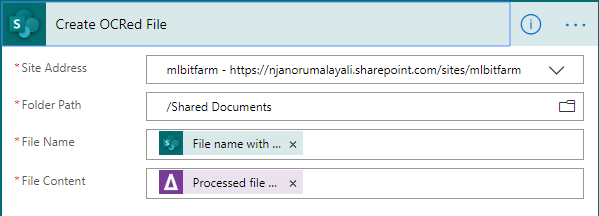
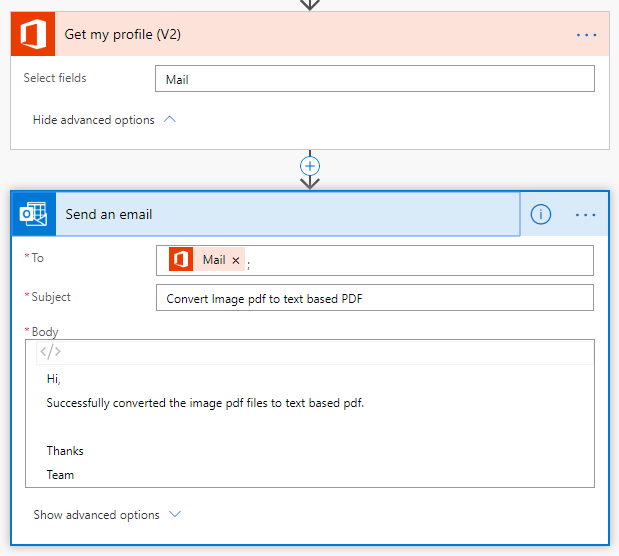
Wow, now we have a Searchable PDF in our Document folder. Go search with any content of your newly updated PDF. If you wish, you can also create an action to send an acknowledgment mail.

Testing the flow
As we already created the flow, now it is time to test the same. To do that, I added a scanned document to my one drive folder. We can check the Flow running status in the portal.

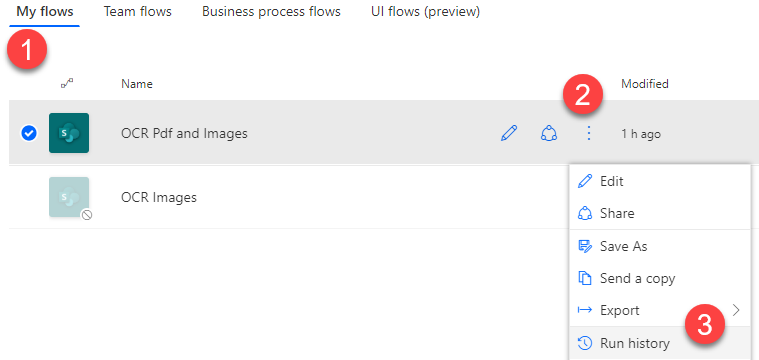
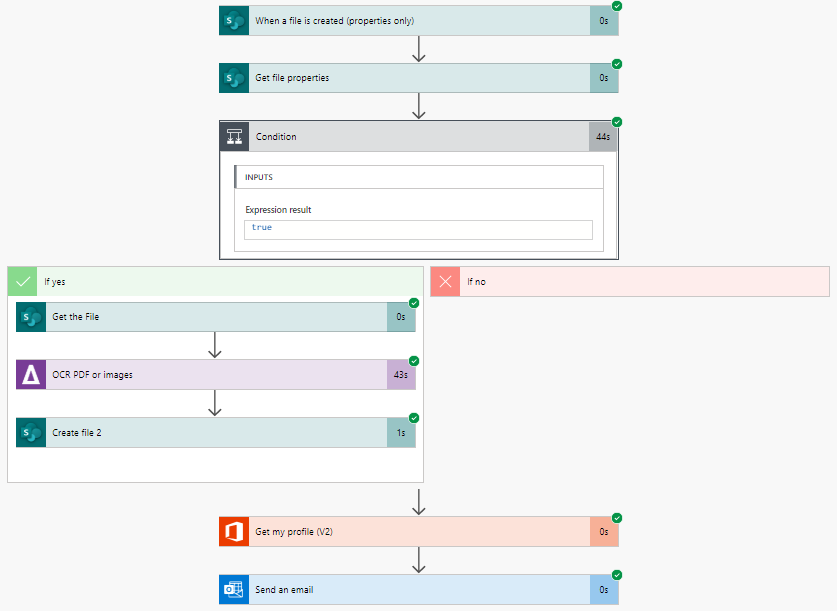
Below is the sample run history output of my flow.

Conclusion
Thanks a lot for staying with me for a long time and reading this article. I hope now you have learned about
- creating a flow in SharePoint online
- creating the steps in Flow
- use the connections in Flow
- OCR the PDF using Computer Vision
- OCR the PDF using AquaForest API
- creating a new File with OCRed output
- send mails from Flow
If you have learned anything else from this article, please let me know in the comment section.
Follow me
If you like this article, consider following me, haha!.
Your turn. What do you think?
Thanks a lot for reading. Did I miss anything that you may think which is needed in this article? Could you find this post useful? Kindly do not forget to share your feedback.
Kindest Regards
Sibeesh Venu