Change Mail Signature In Windows 10 Mail App
In this post we will see how we can change the default mail signature in windows 10 mail application. As usual we can see this option in the settings like in every other application. But if you are new to windows 10, you may be facing some issues how to find it out. Here by I am explain the steps to edit the windows 10 mail application signature. Please be noted that this post is for the one who is absolutely new to windows 10. Please do not mind, if you know this already. I hope you will like this article.
Steps to configure or change windows 10 mail app signature
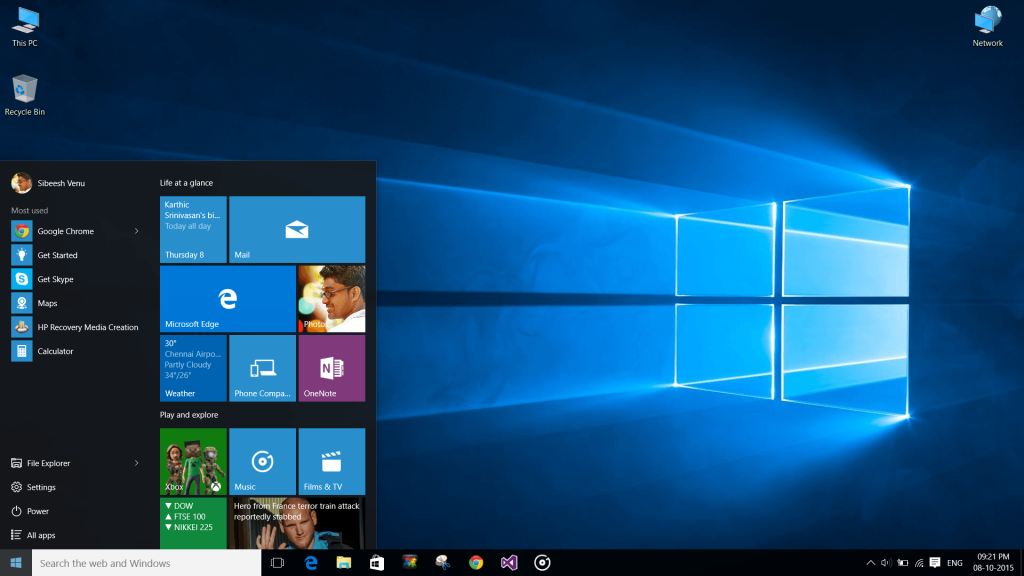
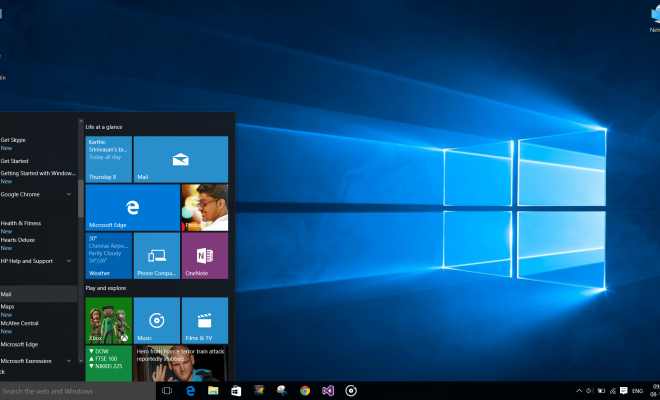
Please go to start menu, you can see the menu as we have in windows 7.
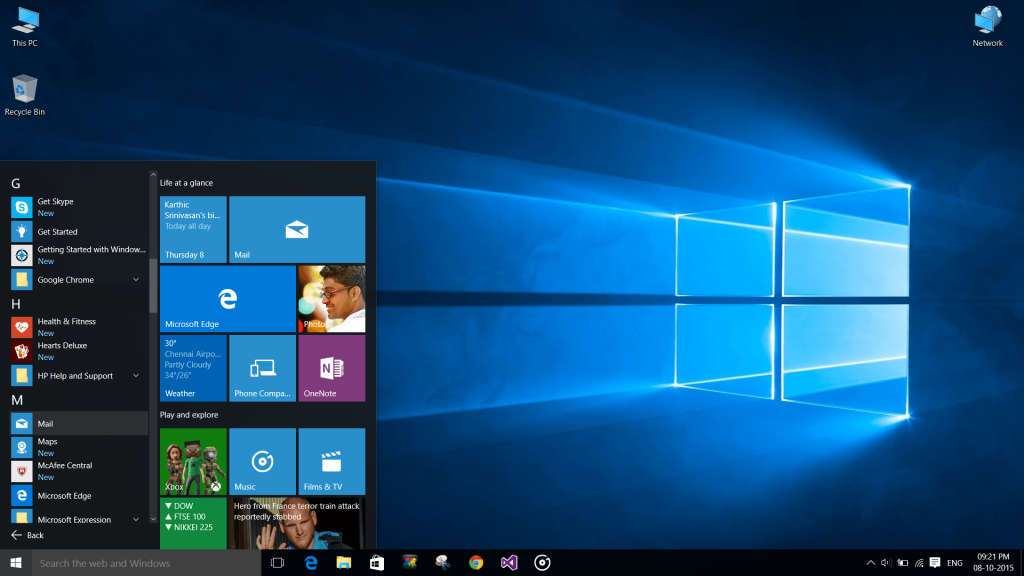
Now please go to all program and find out the mail app.
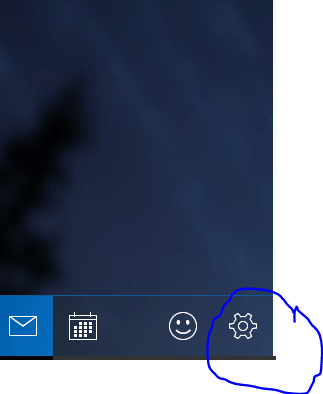
Now the mail app will be getting opened, and you ca find the setting symbol in the footer area as shown in the below image. Please click on that.
In the settings part, please click on the options.
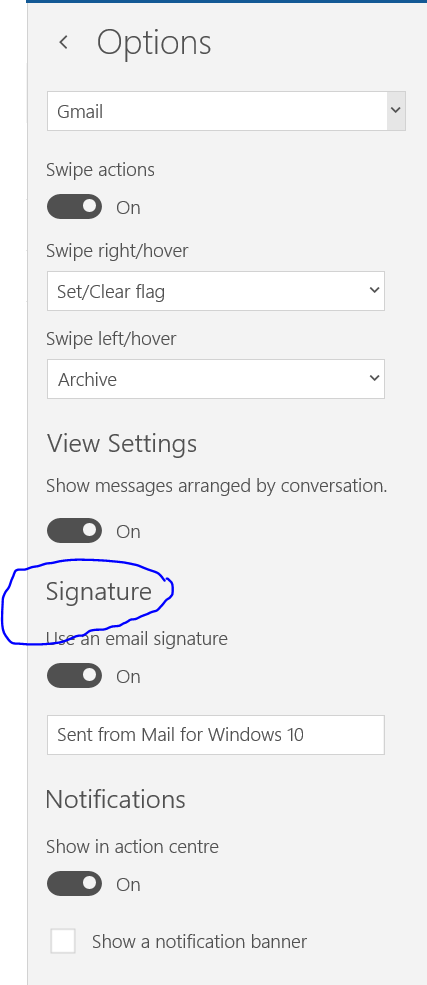
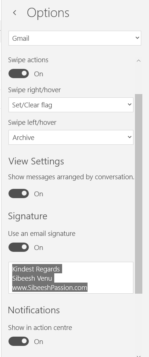
You will be given so many options to configure, please click on the signature and make sure that you have turned on this feature.
Now in the given text are you can edit your signature.
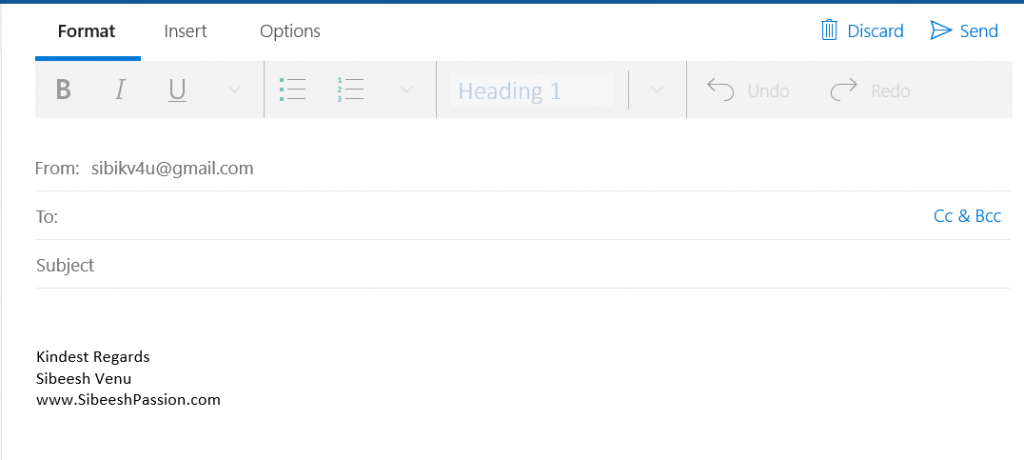
Once you are done, please press enter so that the changes will get affected. And hereafter whenever you try to send a new mail or reply for any new mail, you will get this signature instead the default one.
That’s all thanks for reading.
Conclusion
Did I miss anything that you may think which is needed? Have you upgraded your operating system to window 10? Have you ever tried the new windows 10 app? Could you find this post as useful? I hope you liked this article. Please share me your valuable suggestions and feedback.
Your turn. What do you think?
A blog isn’t a blog without comments, but do try to stay on topic. If you have a question unrelated to this post, you’re better off posting it on C# Corner, Code Project, Stack Overflow, Asp.Net Forum instead of commenting here. Tweet or email me a link to your question there and I’ll definitely try to help if I am able to.
Kindest Regards
Sibeesh Venu

