Easily move data from one COSMOS DB to another

Introduction
In this post, let’s discuss how easily we can move data from one cosmos database to another with the help of Azure data factory. An Azure data factory is a fully managed serverless data integration service, while it provides solutions for many use cases, today I am going to demonstrate to move data without writing a single line of code. Let’s get to it.
Creating Azure data factory
There are many ways to create Azure data factory
Create Pipeline
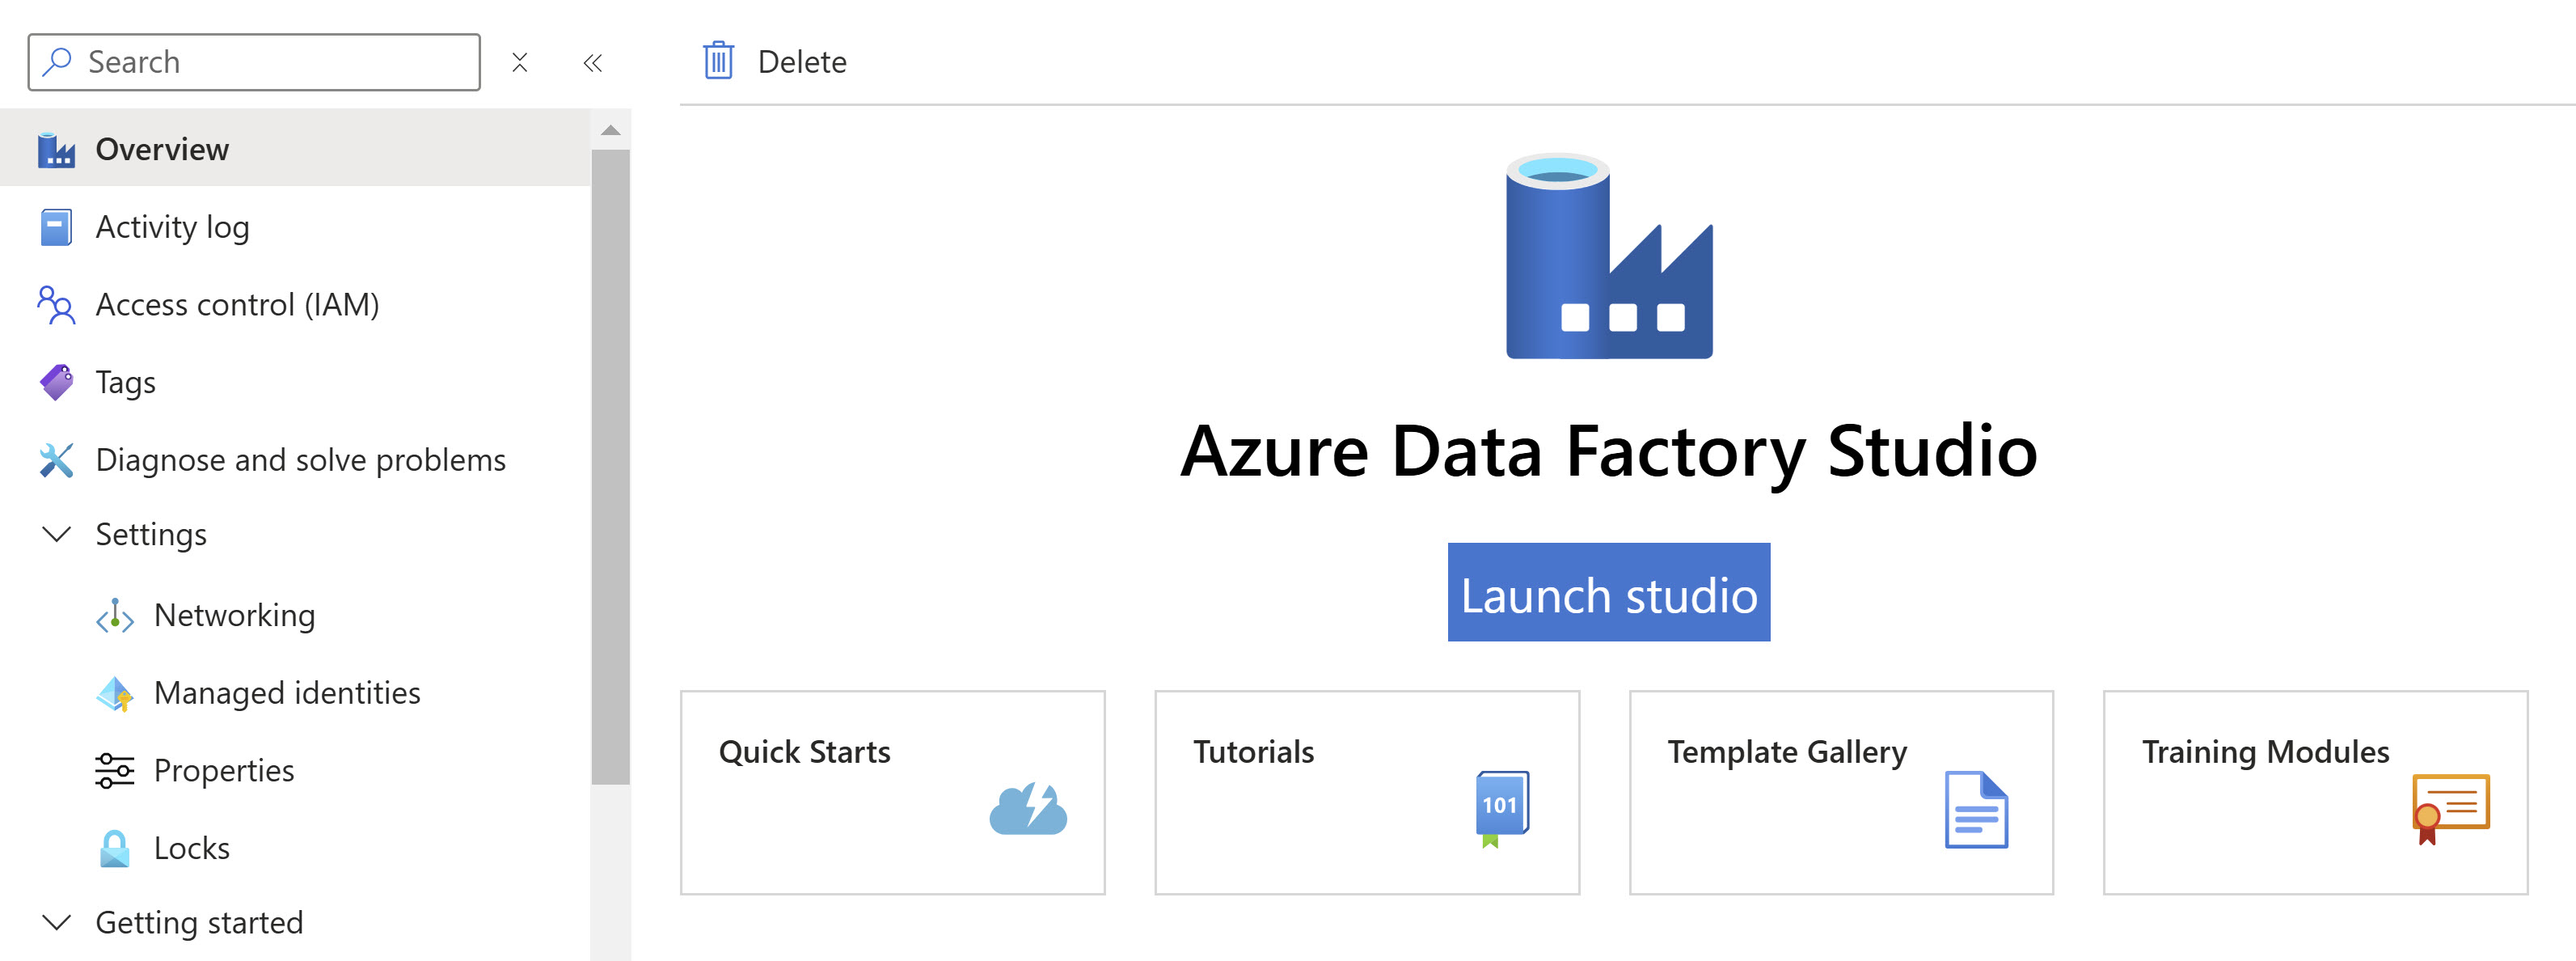
When you have ceated the Data factory, open that from the Azure portal, click on the Overview blade and click on the Launch Studio button.
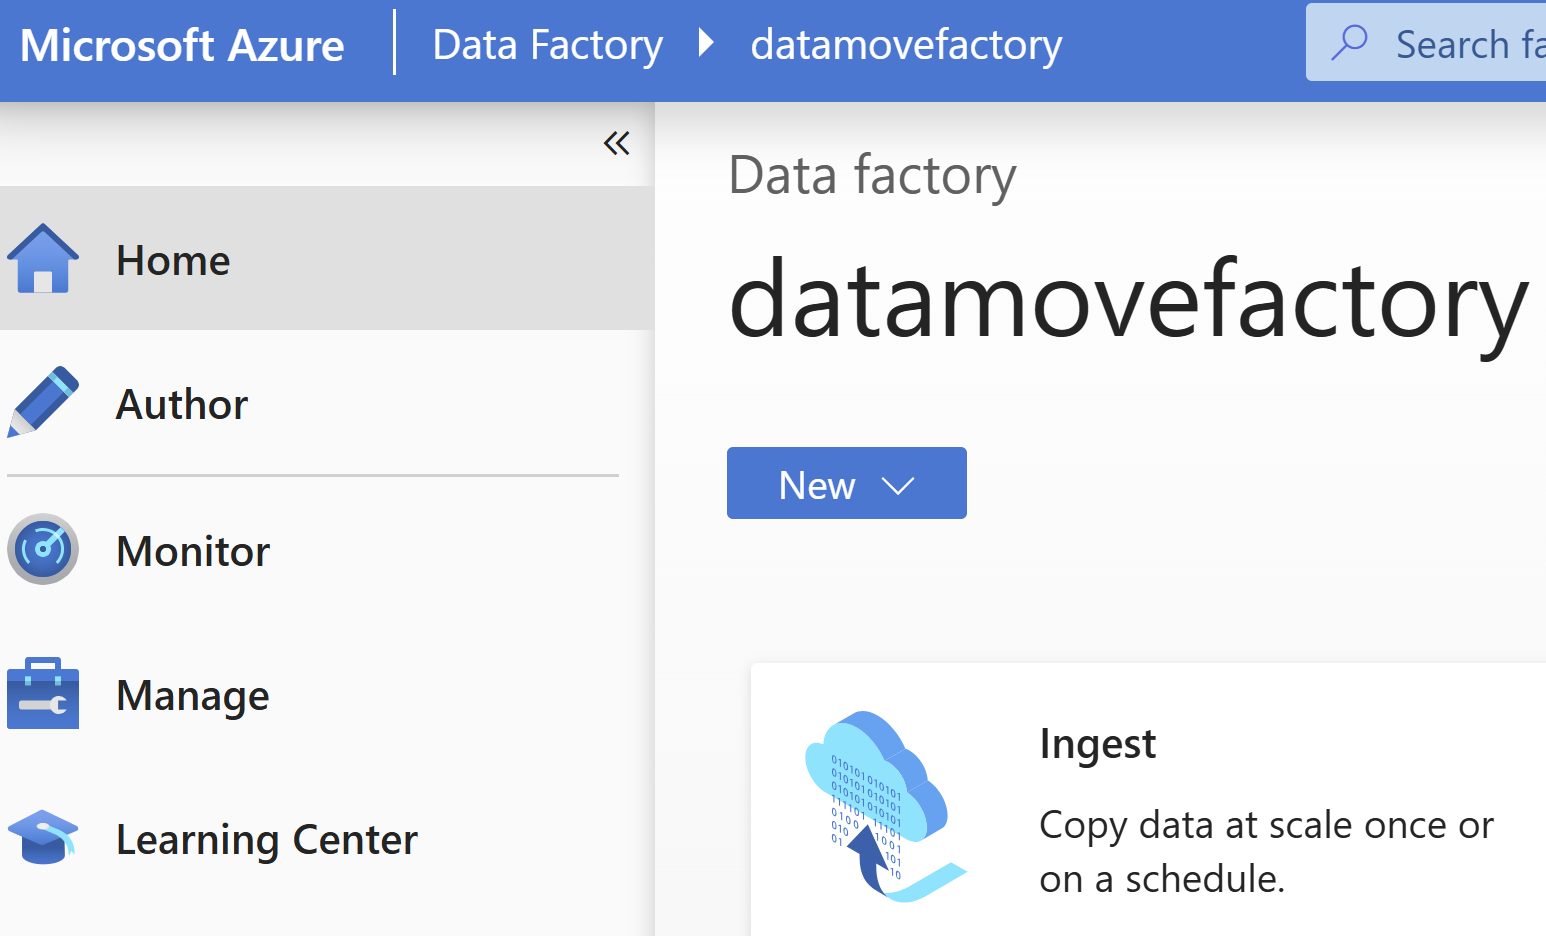
Cick on the Home page and then click on the Ingest.
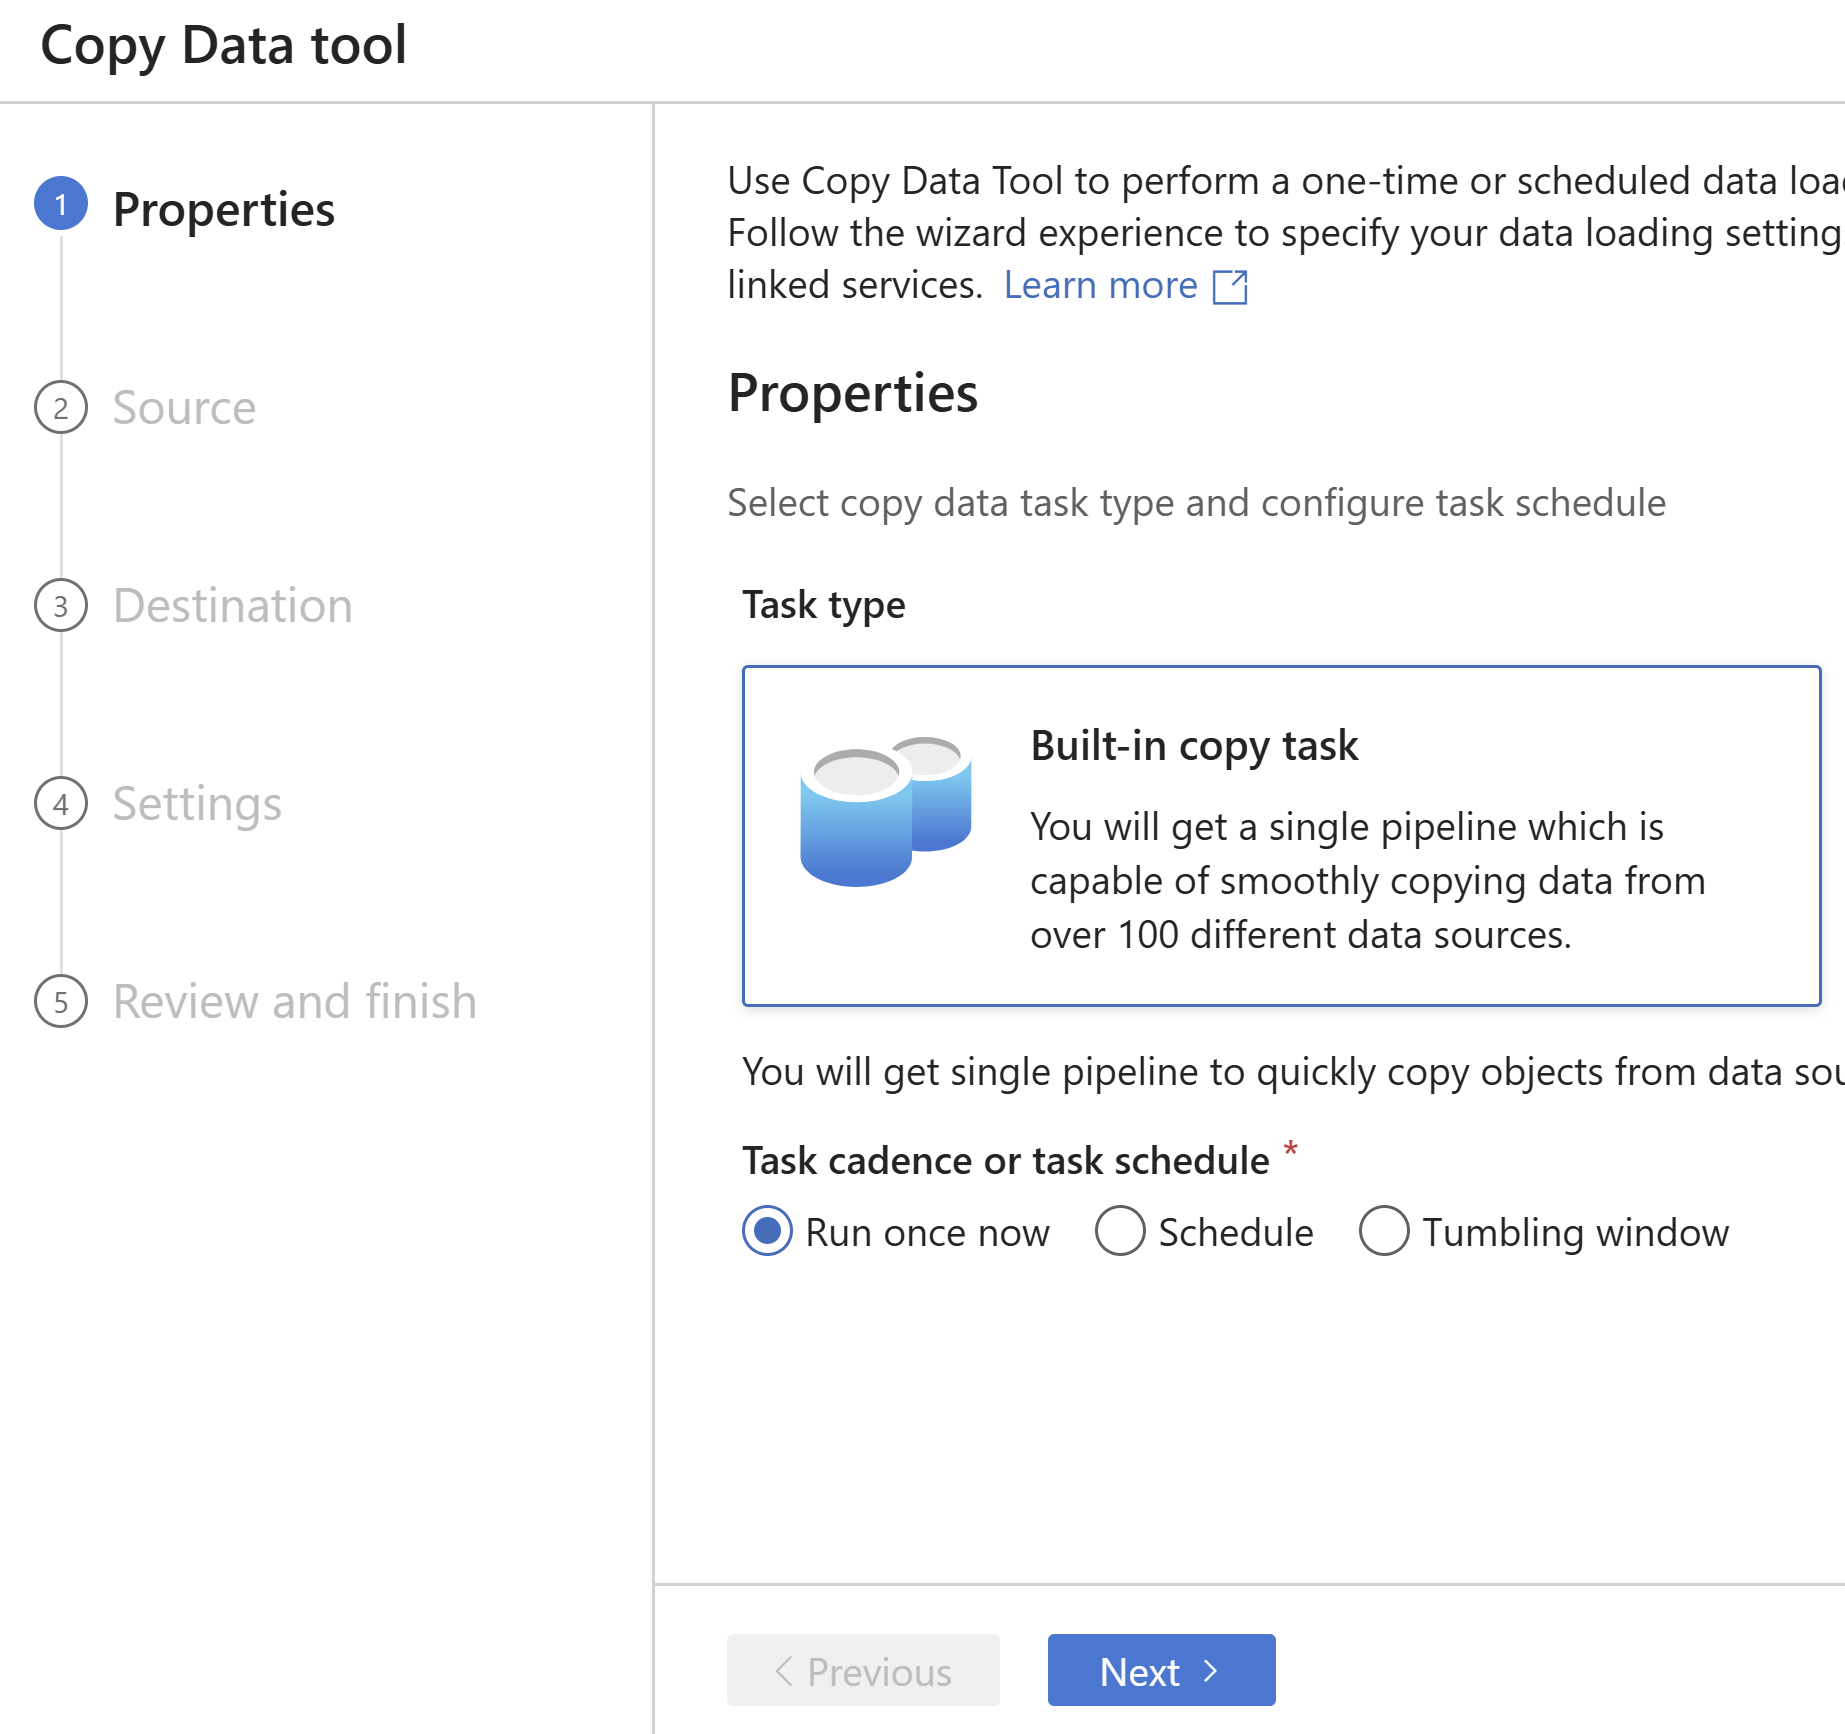
Under Properties, select Built-in copy task. You can select the task cadence otr task schedule as per your requirement. I am selecting “Run once now”.
Select Source Dataset
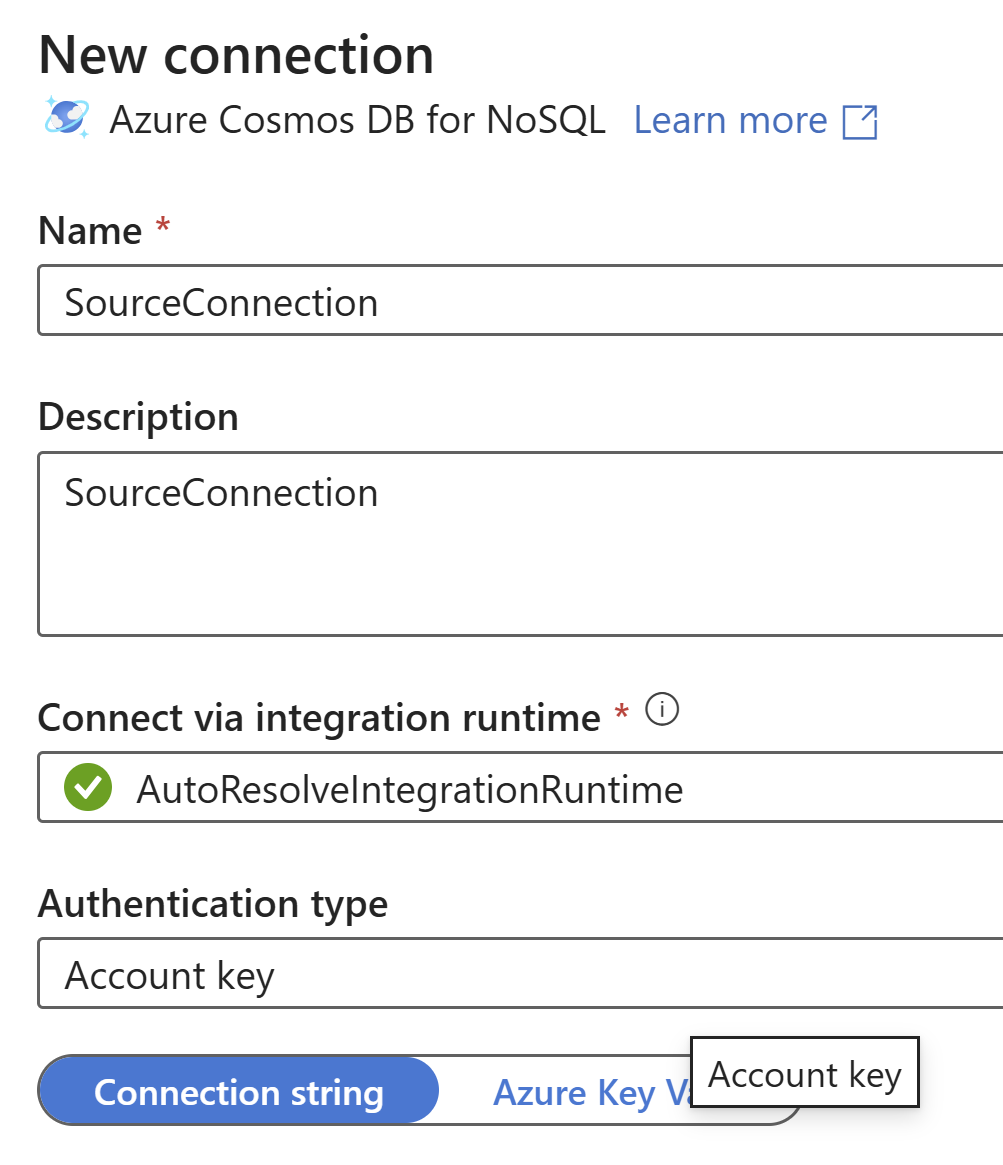
Under source tab, select your data source, I am selecting Azure CosmosDB for NoSQL. Under connection, +New connection. In the new pane, provide a name for your connection, and provide connection to the source either via a connection string from Azure subcription or Key Vault.
The connection will be tested automatically and the tables/containers wil be loaded for you to select those are applicable. I am selecting all the tables and yes to checkbox “Export as-is to JSON files or Azure Cosmos DB collection”.

Click next, a filter window will appear, you can also preview your data in this section.
Select Destination Data Store
Under the destination pane, select the Destination type. I am selecting “Azure Cosmos DB for NoSQL” as I need to move data from Cosmos DB to another Cosmos DB. Create a connection for the destination by clicking the +New connection and proceed the steps we followed for creating the connection for the source.
Once the connection is validated, you will be able to see the copy activities from Source to Destination. Make sure to select the activities that are required. By default all will be selected. Click Next.
Finalizing the task
In the next step, name your task, if you prefer you can apply “Data consistency verification” that will enable logging. Select the advanced settings that are applicable to you. Select Next. You will be provided with the Summary, if everything is right, click Next.
It will create the datasets, creates the pipeline, and run the pipeline. You can Finish, Monitor or Edit your pipeline.

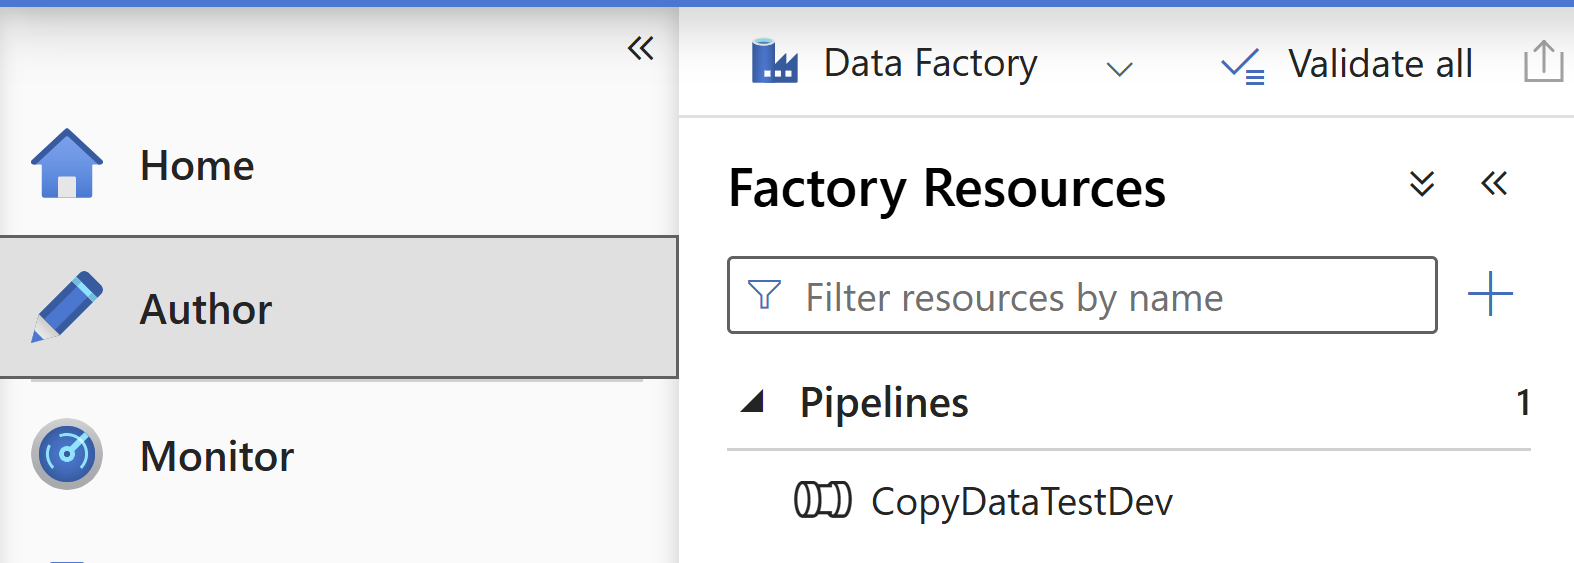
If you ever want to see your pipeline again and edit, it will be under the Author pane and under the Pipeline section.
For any pipeline, you can enable Auto save by enabling the Git integration.

Verify that your Azure DevOps account is connected to the Microsoft Entra account, the Azure DevOps repository is in the Default Directory tenant, and that your current ADF user account has been added to the Azure DevOps organization.
Conclusion
In this post we have seen how easily we can move data from one Azure Cosmos DB to another with the help of Azure Data factory and it’s in-built automation.
About the Author
I am yet another developer who is passionate about writing and sharing knowledge. I have written more than 500 blogs on my blog. If you like this content, consider following me here,
Your turn. What do you think?
Thanks a lot for reading. Did I miss anything that you may think is needed in this article? Could you find this post useful? Kindly do not forget to share your feedback.