UWP Application Signin, Release, Distribute, Deploy With Azure DevOps Pipeline
[toc]
Introduction
Building a UWP application is fun but releasing them not. At least that is the experience I had, I was facing a bunch of issues when I try to configure the pipeline to build and release to the app center. Yes, it includes the creation of a certificate too, and here we will see the best practice to handle your certificate. And we will also use the option Variables in the Azure DevOps.
Here in this article,
- we will create the pipelines from the scratch
- we will create a certificate and save it under the secured files
- we will use the certificate to signin the build in the pipeline
- we will create variables for our pipeline
- we will also use some of the existing tasks like, copy, archive etc
- and at the end, we will distribute our artifact to the app center
If any of the above points mentioned felt interesting, then you are in the right place. Let’s read further.
Welcome to the Pipeline World
Azure DevOps pipeline has a lot to offer, and I am yet to experience all the features it provides. Here I am assuming that you already have a UWP application, and if you have not you can get some sample UWP applications from the official GitHub repositories, I will leave this task to you.
Creating a certificate
The first thing that we need to do is to create our certificate file (PFX). To do that, we already have a nice tutorial on the Docs. If you have followed the tutorial, at the end you should be having a PFX file saved in some folder as per your preference.
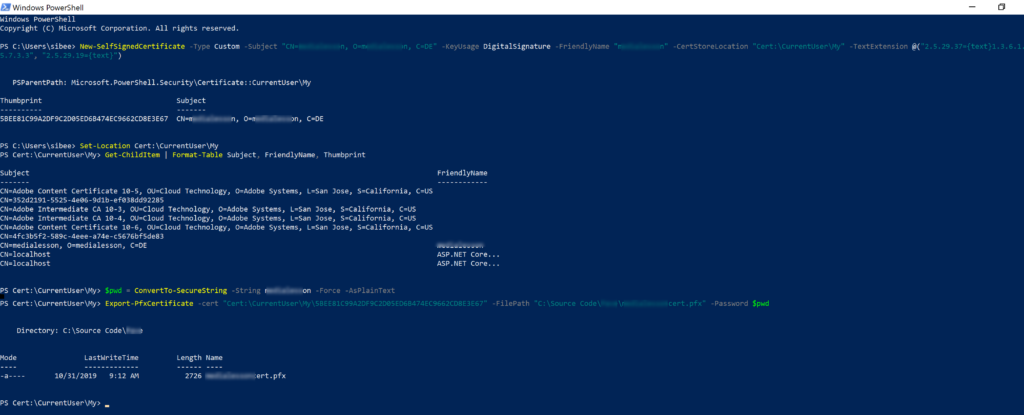
Please make a note of the location you had saved your PFX file and the Thumbprint.
What is the difference between a PFX file and Cert file?
A PFX will have both private and public key in it, and cert file will have only public key in it. Thus sharing a PFX file outside your organization is not a good idea.
PFX VS Cert
What is a Thumbprint?
A Thumbprint is a hexadecimal string that can be used to identify the certificate
Thumbprint
Now somehow you forgot your Thumbprint, the same can be easily found in this location in Windows.
C:\Users\sibee\AppData\Roaming\Microsoft\SystemCertificates\My\CertificatesSetting up the variables
As we now have our certificate and the details ready, let us set up our variables in the Azure DevOps pipeline. To do that, go to the library section of the pipeline and click on the +Variable group.

Below is the Variable Group I had created with all the details.
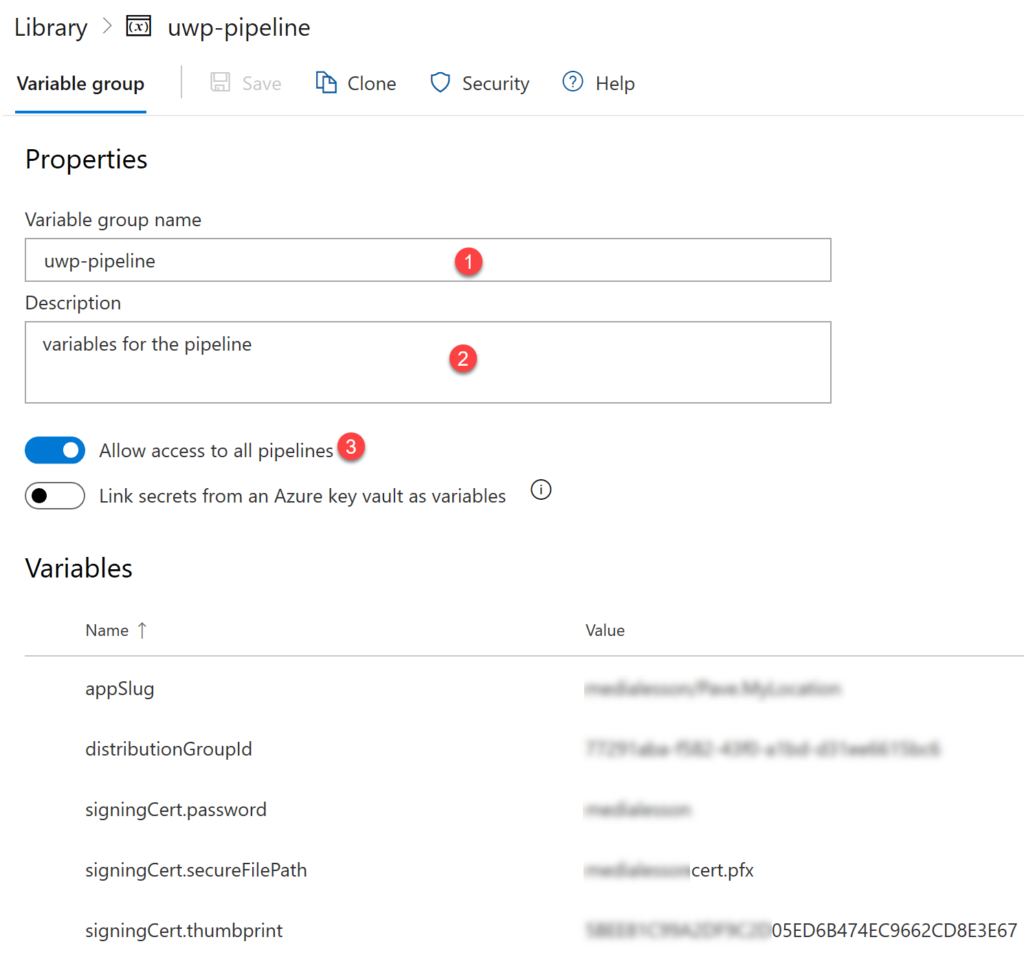
Please do not forget to enable the “Allow access to all pipeline” or else you will always get an error in your pipeline. Here the signingCert.secureFilePath is the file path of our PFX file, which we will upload to our secure file section of the pipeline. We will talk about the appSlug and distributionGroupId when we create the distribute to app center task in our pipeline.
Upload the certificate to the Secure Files
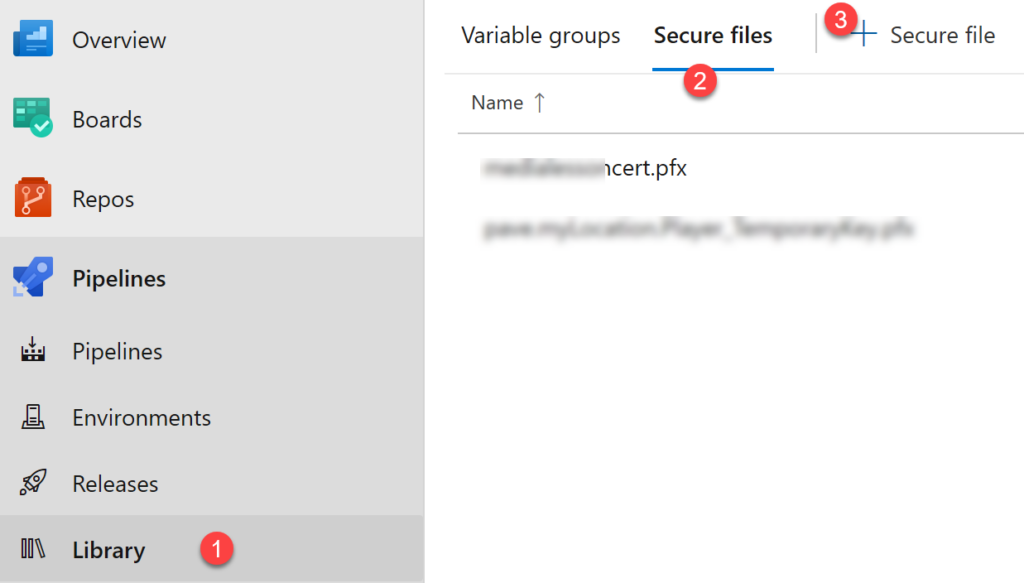
To upload our PFX file generated, click on the Library and then Secure files, and upload the file by clicking on the +Secure file.
Generate build number automatically (Optional)
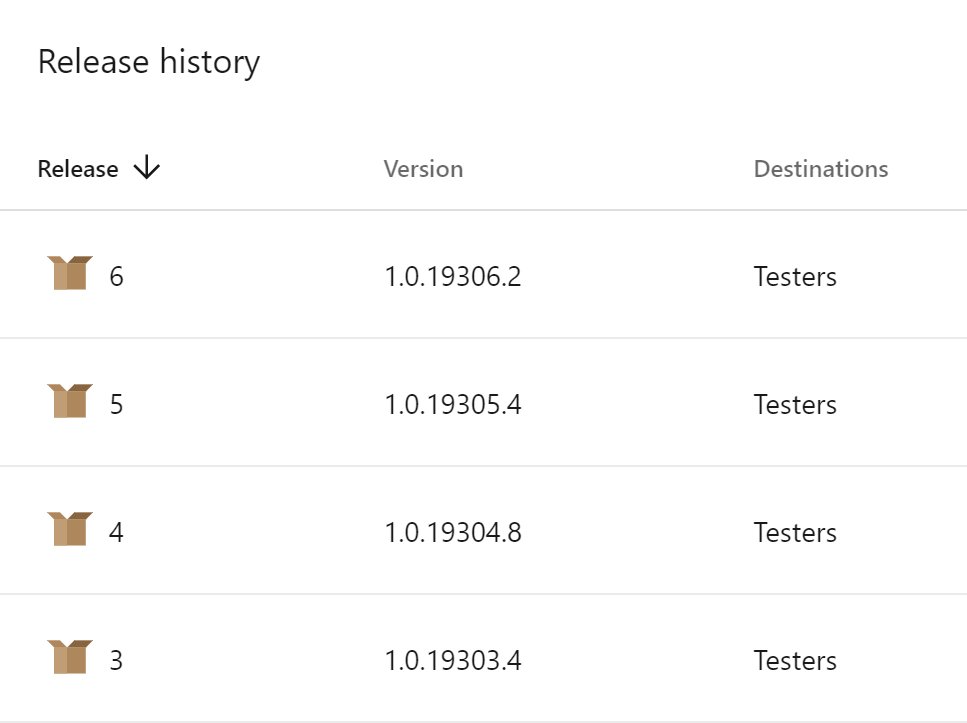
This step is optional. Unfortunately by default the Azure DevOps release to app center task will not increase the build number, thus you will always see the same version number as 1.0.0 in the app center.
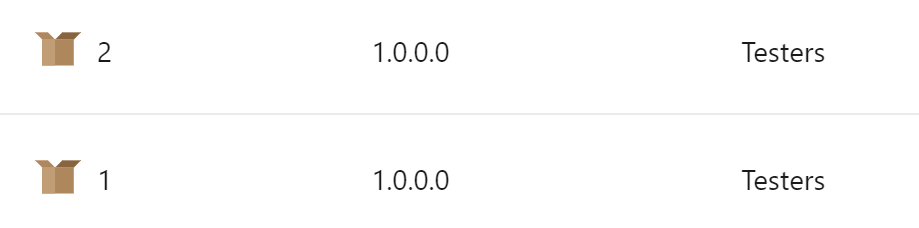
And if you want to change it to something like the preceding image, then you can consider reading this step.
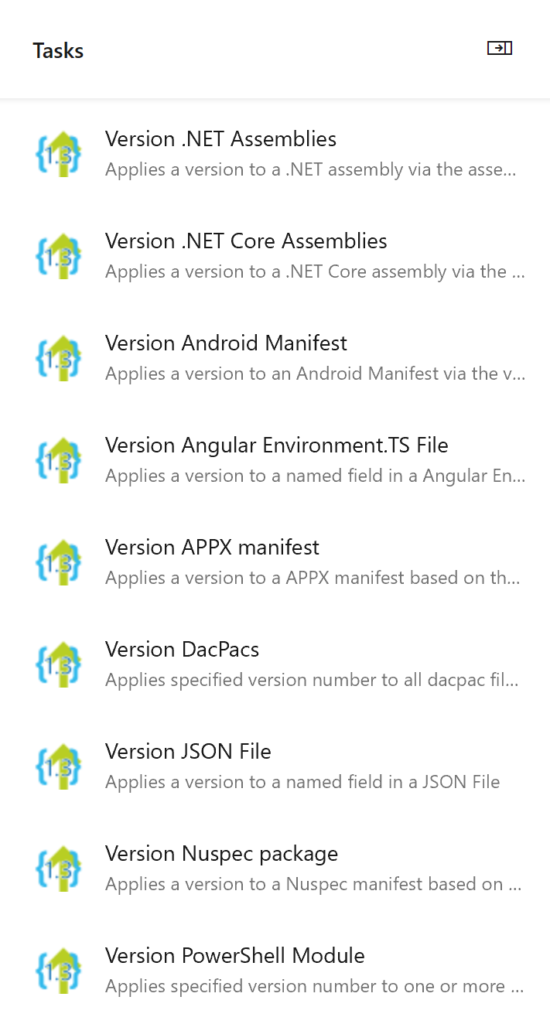
The first thing that you need to do is to install this package to your organization. Once you have done that, you should be able to see related tasks when you search for the term “Version” in the pipeline.
Create the Pipeline
Below is my fully functioned YAML file, I will be explaining all the tasks here.
To start with I wanted to make sure that my build is manual, so I started editing my YAML file as follows.
As I was mentioning before, we wanted to make sure that the version number of our app releases are different, thus I assigned the name property as below.
name: $(MajorVersion).$(MinorVersion).$(date:yy)$(DayOfYear)$(rev:.r)Do you remember that we created a Variable Group and now it is the time use it.
Please be noted that you must use the format -name: “” value: “”
Tip for Pipeline Variable Configuration
Once this is done we install all of our Nuget Packages. This is something that we do for all our pipeline thus I am not going to explain this task.
Now it is time to download our certificate from the secured files. To do that we need to add the task below.
As you can see that we use the variable signingCert.secureFilePath to locate the secure file. Please also be noted that the name property, we will be using this in upcoming tasks.
As we downloaded the certificate already, now it is time to install our certificate in our agent so that we can do the package siginin.
Did you notice that we used mySecureFile.secureFilePath to get our certificate and the password from the variable?
Once this is done, we can add a task to automatically increase the build number of our artifacts. Remember that we installed a package to do so? If not, please consider read this article from the start again, just kidding!.
As we have a UWP application, we should use the task Version APPX manifest, please remember that the task names are different for the other types of applications. This task will update the related environment variables.
Now let us add a task to build our application.
Please be noted that these build arguments.
- p:AppxPackageSigningEnabled=true
- p:PackageCertificateThumbprint=”$(signingCert.thumbprint)”
- p:PackageCertificateKeyFile=”$(mySecureFile.secureFilePath)”
- p:PackageCertificatePassword=”$(signingCert.password)”
These are the settings that you need to enable to do the build signin.
So far so good, as per the weight of your application, the build task can take longer than expected. Please keep in mind that the default timeout value of the Azure DevOps pipeline is 60 minutes, so if your build is taking more than an hour, then your build will be failing.
Once the build is successful, we can copy and publish our artifacts. Are you ready?
Yay!. We are almost done. I was facing an issue as “Ask the app developer for a new app package. This one isn’t signed with a trusted certificate (0x800B0100) ” when I try to install the application after downloading the application from the app center. And this GitHub post helped me to fix the same.
So as a fix, I had to upload the entire artifacts to the app center instead of the APPX file alone, to do so, we have to create an Archive task as follows.
So now we have our complete artifacts ready to upload to the app center. Let’s create the task for that. Below is my task, I will explain the inputs needed for this task.
Before you add that task, make sure that you get the values for the below inputs.
- Server End Point
- App Slug
- Distribution Group Id
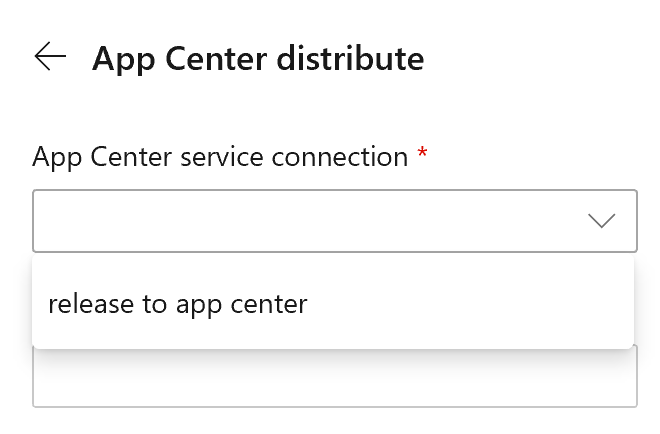
Now let’s get these values. The server end point is the name of the connection that you should create. You will be asked to do this while you add the App Distribute Task to the YAML file. Please make sure that you have enough permission to do so.
You should also need to create an API token in your App Center to create this connection, you need to go to https://appcenter.ms/settings/apitokens and then click on the New API Token button.
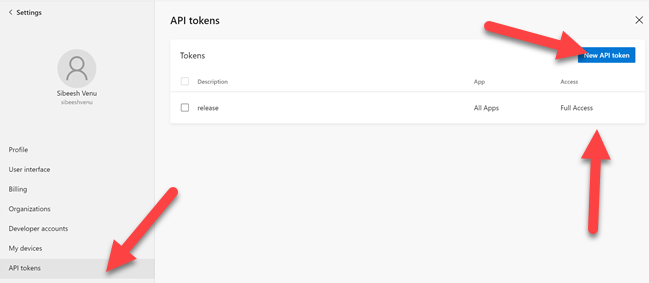
Please make sure that you give Full Access when you create the API Token.
The app slug is in the format of {username}/{app_identifier}. To locate {username} and {app_identifier} for an app, click on its name from https://appcenter.ms/apps, and the resulting URL is in the format of https://appcenter.ms/users/{username}/apps/{app_identifier}. If you are using orgs, the app slug is of the format {orgname}/{app_identifier}.
When you are uploading the artifacts in the zip file format, it is mandatory that you should provide the build number in the task, otherwise you will get an error as “Job: “”{\”status\”:\”error\”,\”message\”:\”Version could not be created from build.\”}” http response code: 422″” in the pipeline. So to fix this we can add the input buildVersion: ‘$(Build.BuildNumber)’
And then I set the appFile as the archive file task output.
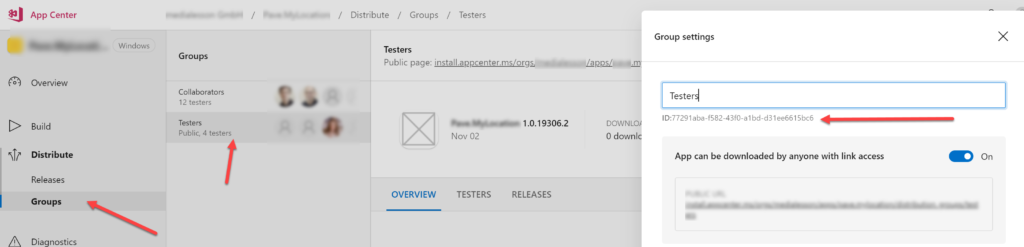
We usually have many people in out projects, and if the project is a critical ones, the number of people is more. But most of the cases, all of them will not be developers, some might be testers and some may be business people. So isn’t it a good idea to have a group of people to whom we can send notifications to, whenever we have any new releases, these can be Testers, Developers, Business etc. Luckily App Center has this feature of Groups. I created a Group called Testers and then I used this Group in my pipeline, to make sure that the notifications are sent only to these members.
To create a group, Click on the Groups in the App center and then create one, once it is created assign the members. Now you can click on the settings button of the group and get the Group Distribution Id, which we will use in the pipeline.
Please do not forget to update the values of appSlug and distributionGroupId in the Pipeline Variables.
With this we are done with our configuration.
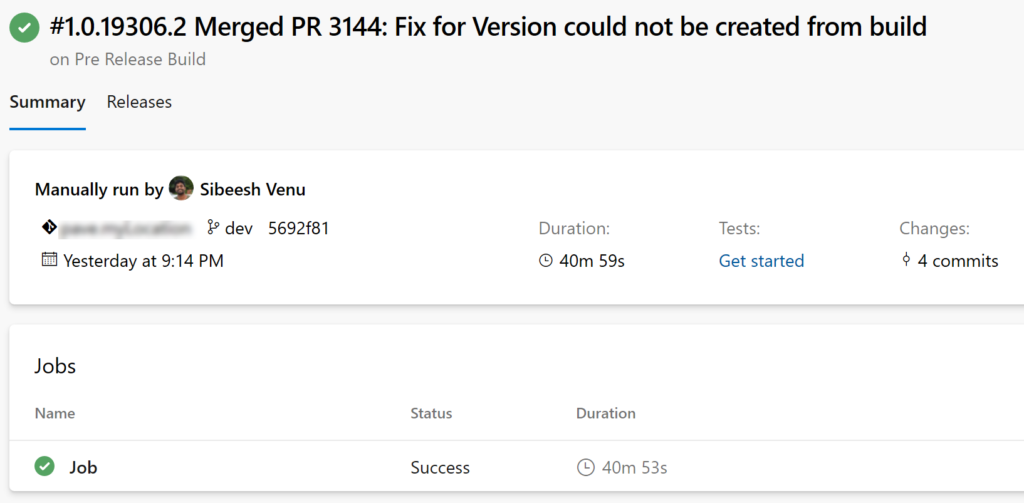
Run the Pipeline
As we have successfully configured our pipeline, now is the time to run the same. If everything goes well, you should be getting an output as below.
Now let us go to our app center and see the new release.
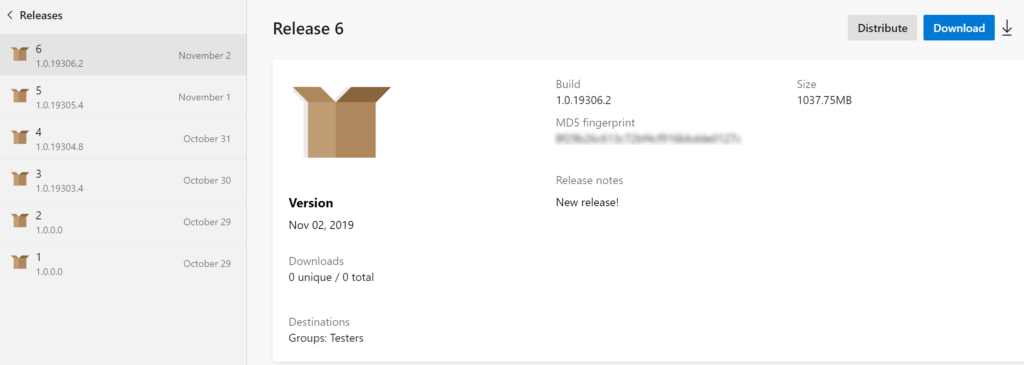
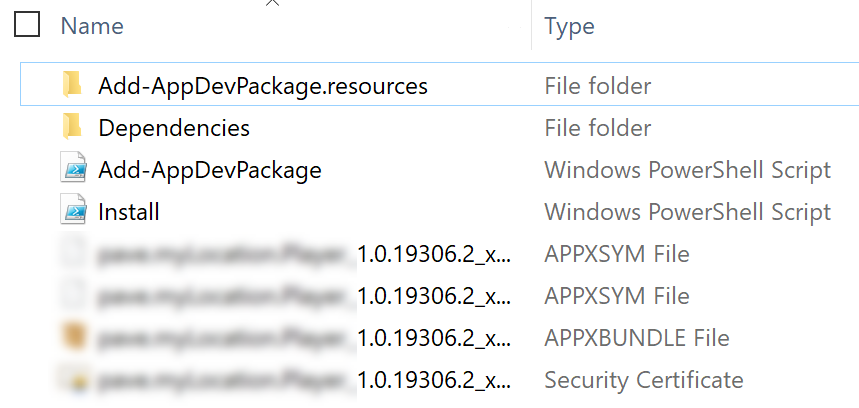
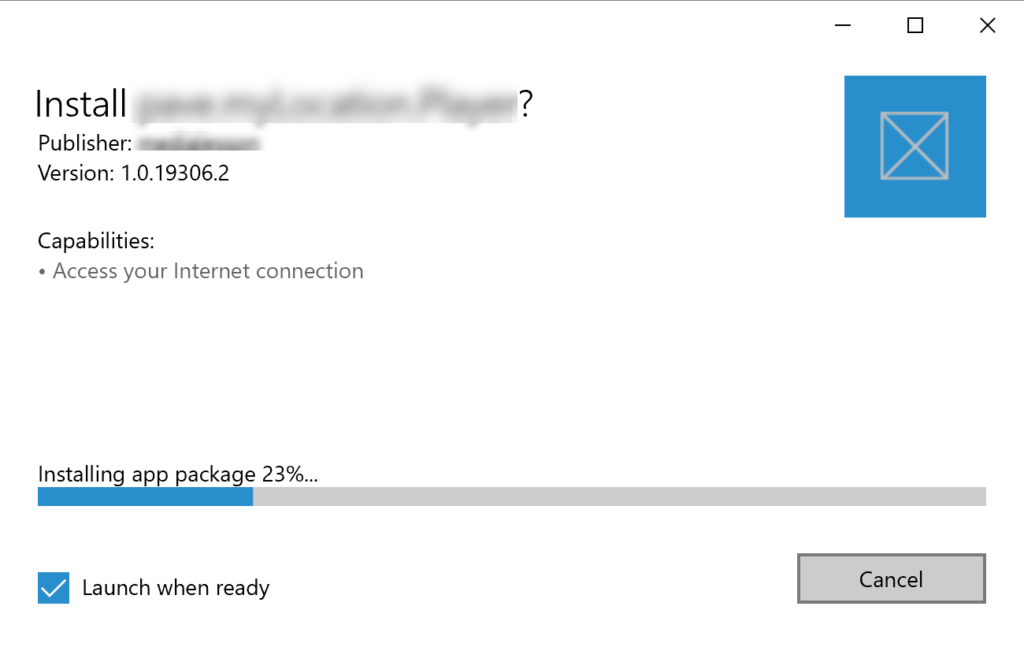
Now you can download the file and install your application. If you extract the files, you should be able to see all the related files inside including the certificate.

Now all you have to do is, to double click on the APPXBUNDLE file to install the application.
References
- How to build, sign and deploy your UWP application using Azure DevOps and App Center
- Create Certificate
Conclusion
Thanks a lot for staying with me for a long time and reading this article. I hope now you have learned
- about creating a certificate for your UWP application
- about Azure DevOps Variables
- about Azure DevOps secured files
- about siginin the UWP package in the Azure DevOps pipeline
- about building the UWP application
- about archiving the build artifacts before uploading to the app center
- about configuring the distribute app center task in the Azure DevOps
- about automatically updating the version number of your UWP application release
If you have learned anything else from this article, please let me know in the comment section.
Follow me
If you like this article, consider following me, ha ha!.
Your turn. What do you think?
Thanks a lot for reading. Did I miss anything that you may think which is needed in this article? Could you find this post as useful? Kindly do not forget to share me your feedback.
Kindest Regards
Sibeesh Venu